
12 Switches - Zero Holes (in the dash)
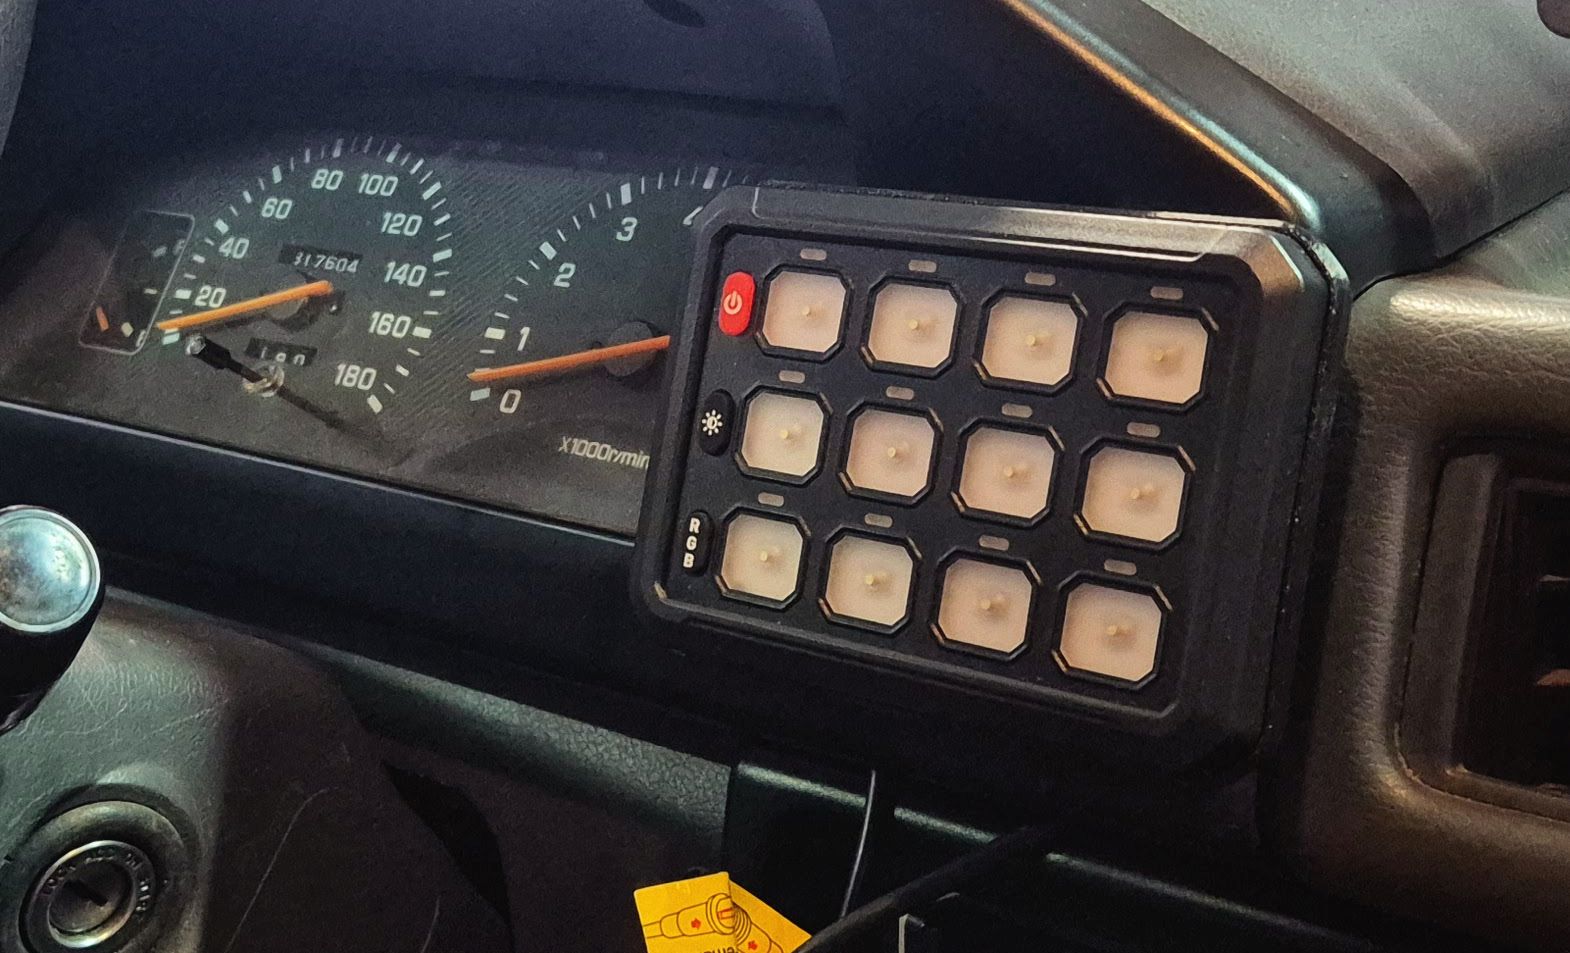
One of the nicer upgrades you can do in an off-road van is extra lighting.
Work lights, rear floods, side lights, camp lights — basically anything that makes reversing through a forest at night slightly less sketchy.
The problem usually starts shortly after that.
Because together with the lights, you also run out of space for switches.
So instead of squeezing another random rocker switch somewhere under the dashboard, I decided to actually plan the whole thing properly from the beginning.
If you want to copy this setup, the full parts list is included near the end of the article.
A Control Module Instead of a Relay Jungle
There are plenty of switch panel systems on the market now.
The concept is simple:
- a small keypad inside the cabin,
- a separate relay or solid-state module mounted elsewhere,
- no thick power cables running through the dashboard,
- no giant relay nest hiding behind the radio.
I went with the Colight 12 Gang from AliExpress.
Why this one?
- reviews were surprisingly decent,
- the keypad is wired, not wireless (I still don’t trust random Chinese RF communication),
- it supports optional Bluetooth control,
- naturally it comes with RGB backlighting and more effects than any adult realistically needs,
- and it was cheap.
Functionally though, it does exactly what it’s supposed to do.
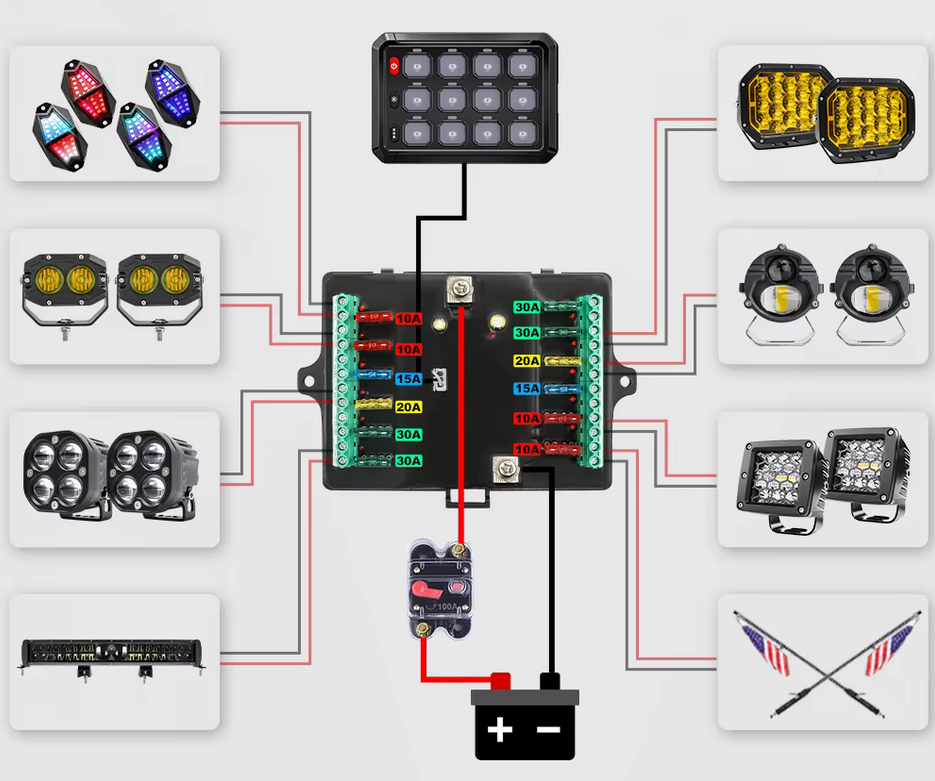
What’s actually useful with these panels is that they’re not limited to simple switching.
Each channel can be configured independently with different modes:
- standard ON/OFF,
- momentary operation,
- flash,
- strobe,
- various pulse modes.
Which opens up quite a few possibilities once you start adding more accessories and lighting around the van.
No Cutting Factory Interior Panels
There’s one thing I really try to avoid on this build.
Cutting factory interior plastics.
Parts for the L300 are already difficult enough to find. Once you cut a dashboard panel, that decision becomes permanent very quickly.
So from day one the goal was simple:
everything should remain fully plug & play.
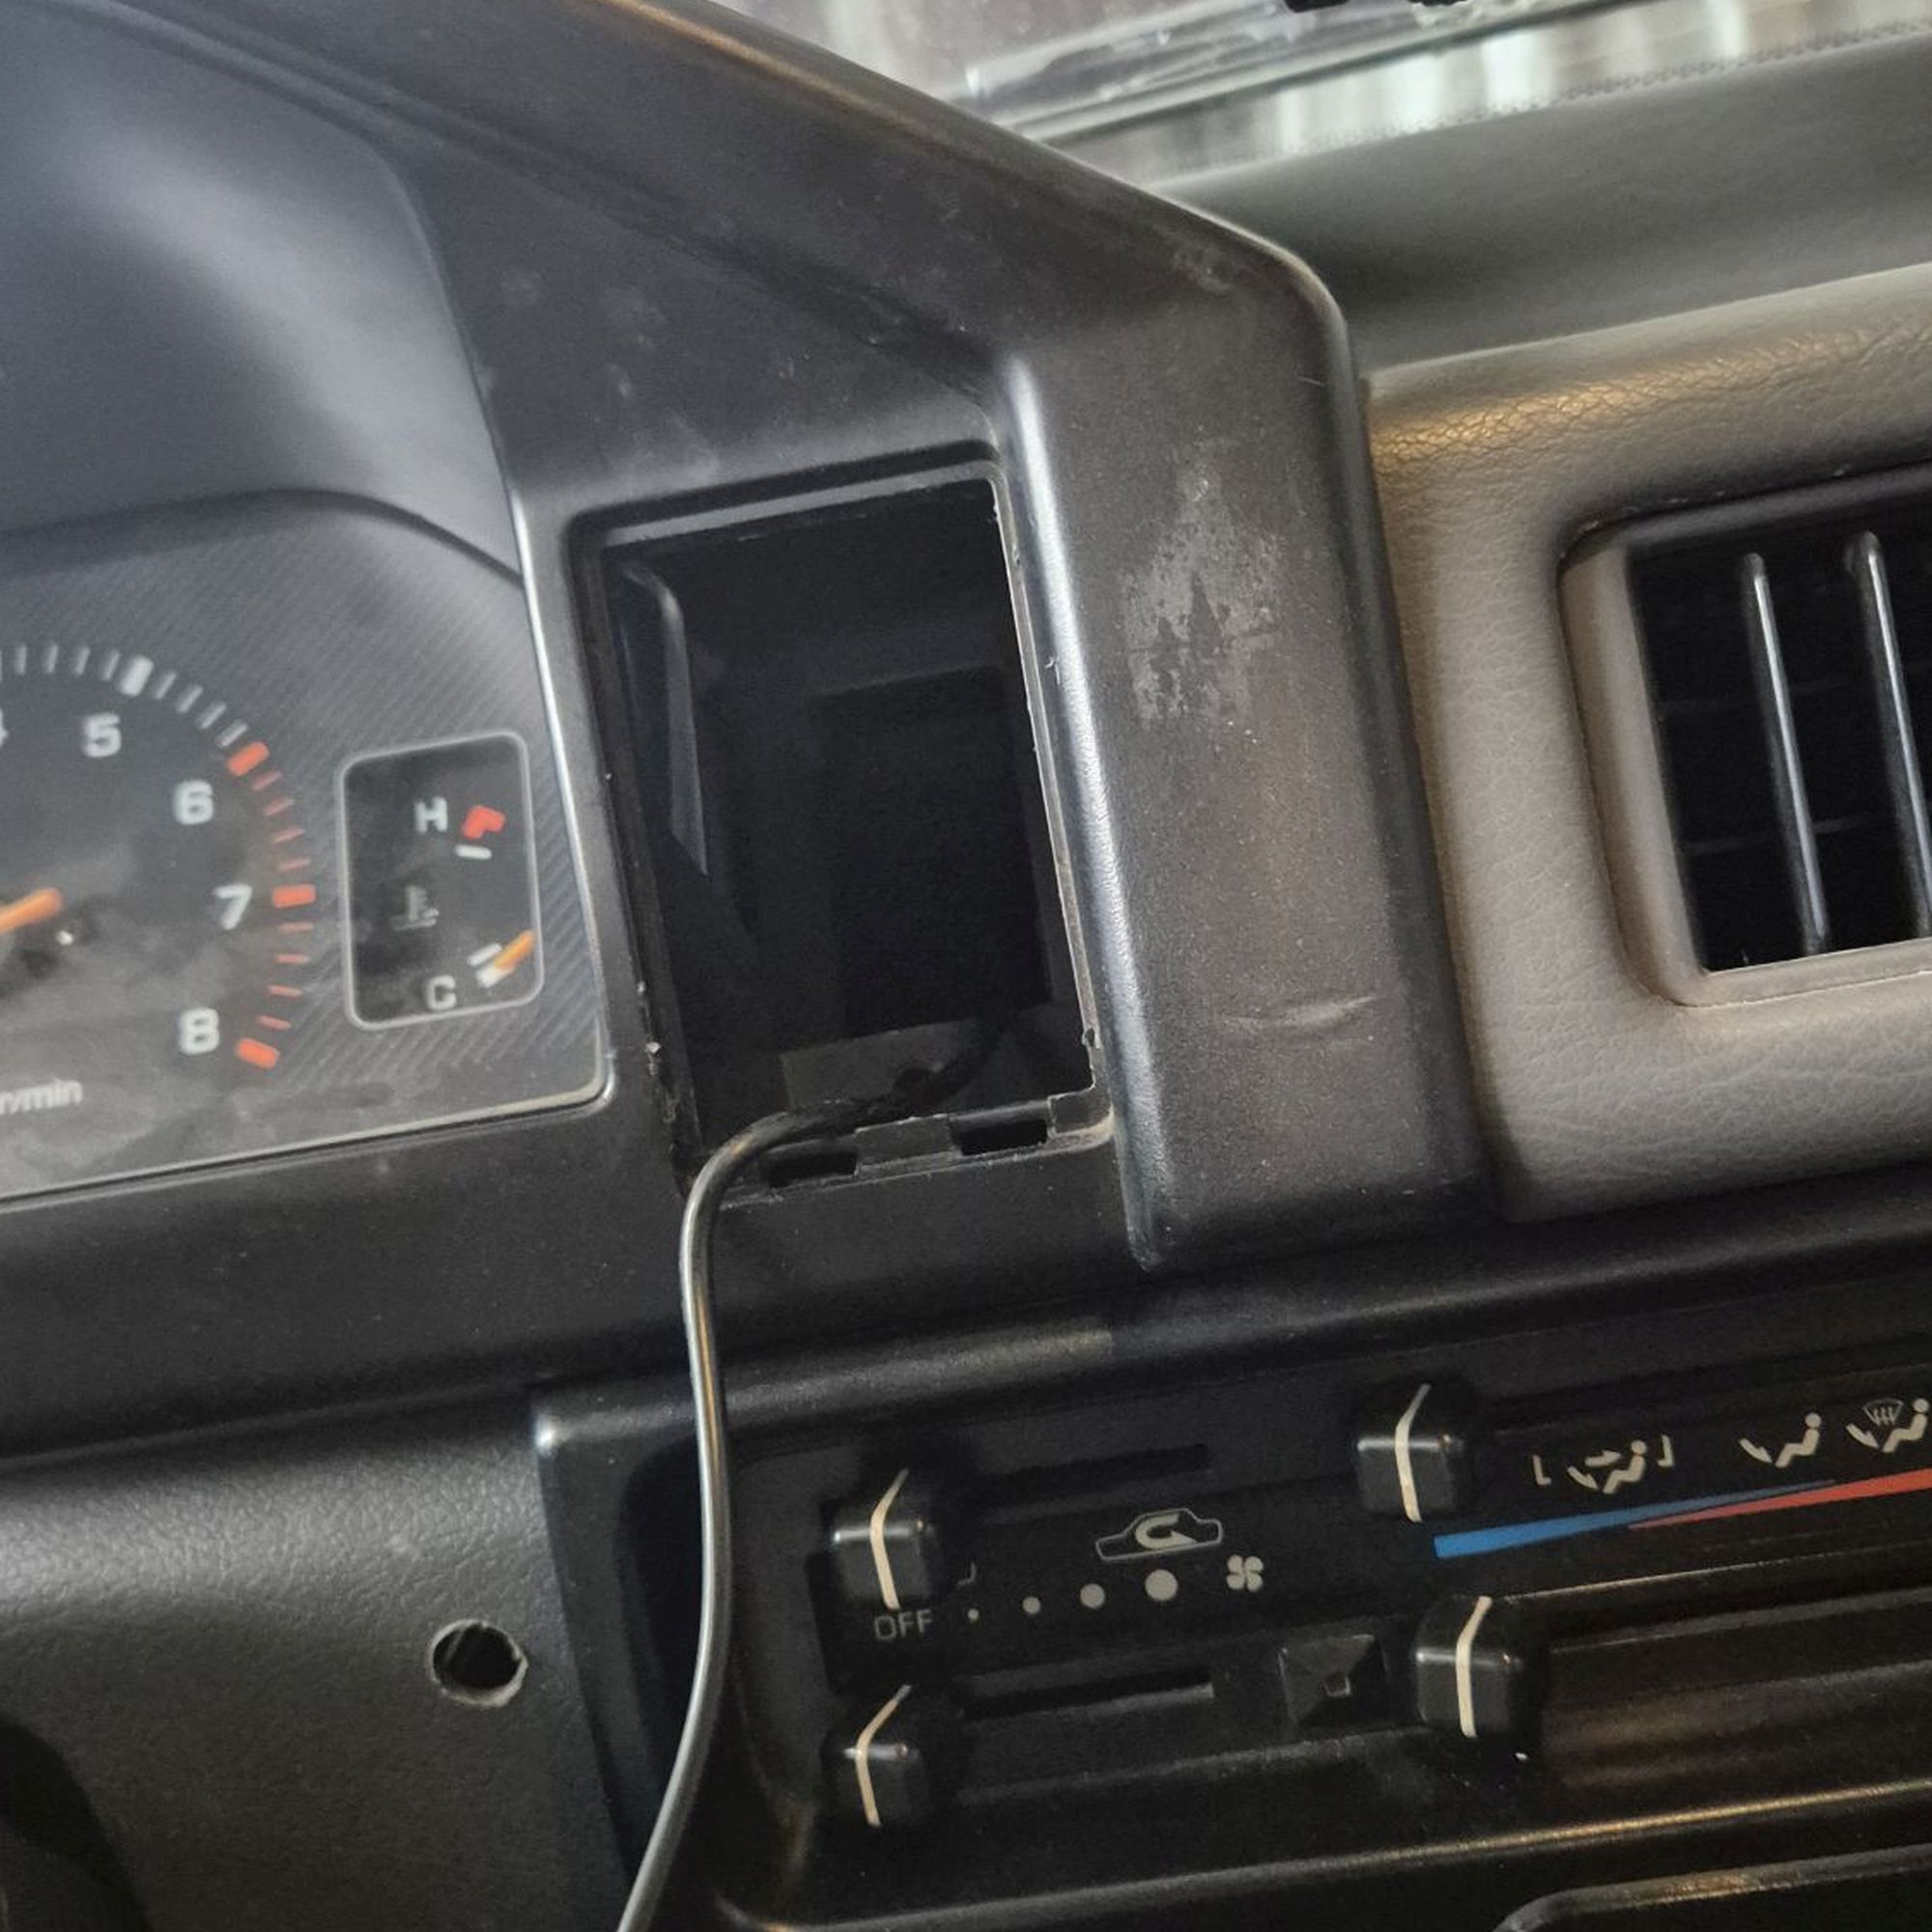
The new switch panel will replace the factory rear wiper and hazard switch section.
Those original switches will move to the left side of the steering wheel, because there’s already unused space there anyway:
- the factory central locking switch is gone,
- the Hi/Low rear heater fan switch disappeared together with the second heater,
- even the rear fog light switch will eventually move to the new panel.
The rear wiper switch, on the other hand, is gone completely.
I never really use the rear wiper anyway, and there’s a good chance I’ll eventually install a rear wiper delete plug instead.
So instead of drilling new holes everywhere, I’m simply reorganizing — and simplifying — what already existed.
3D Scan and Custom Adapter
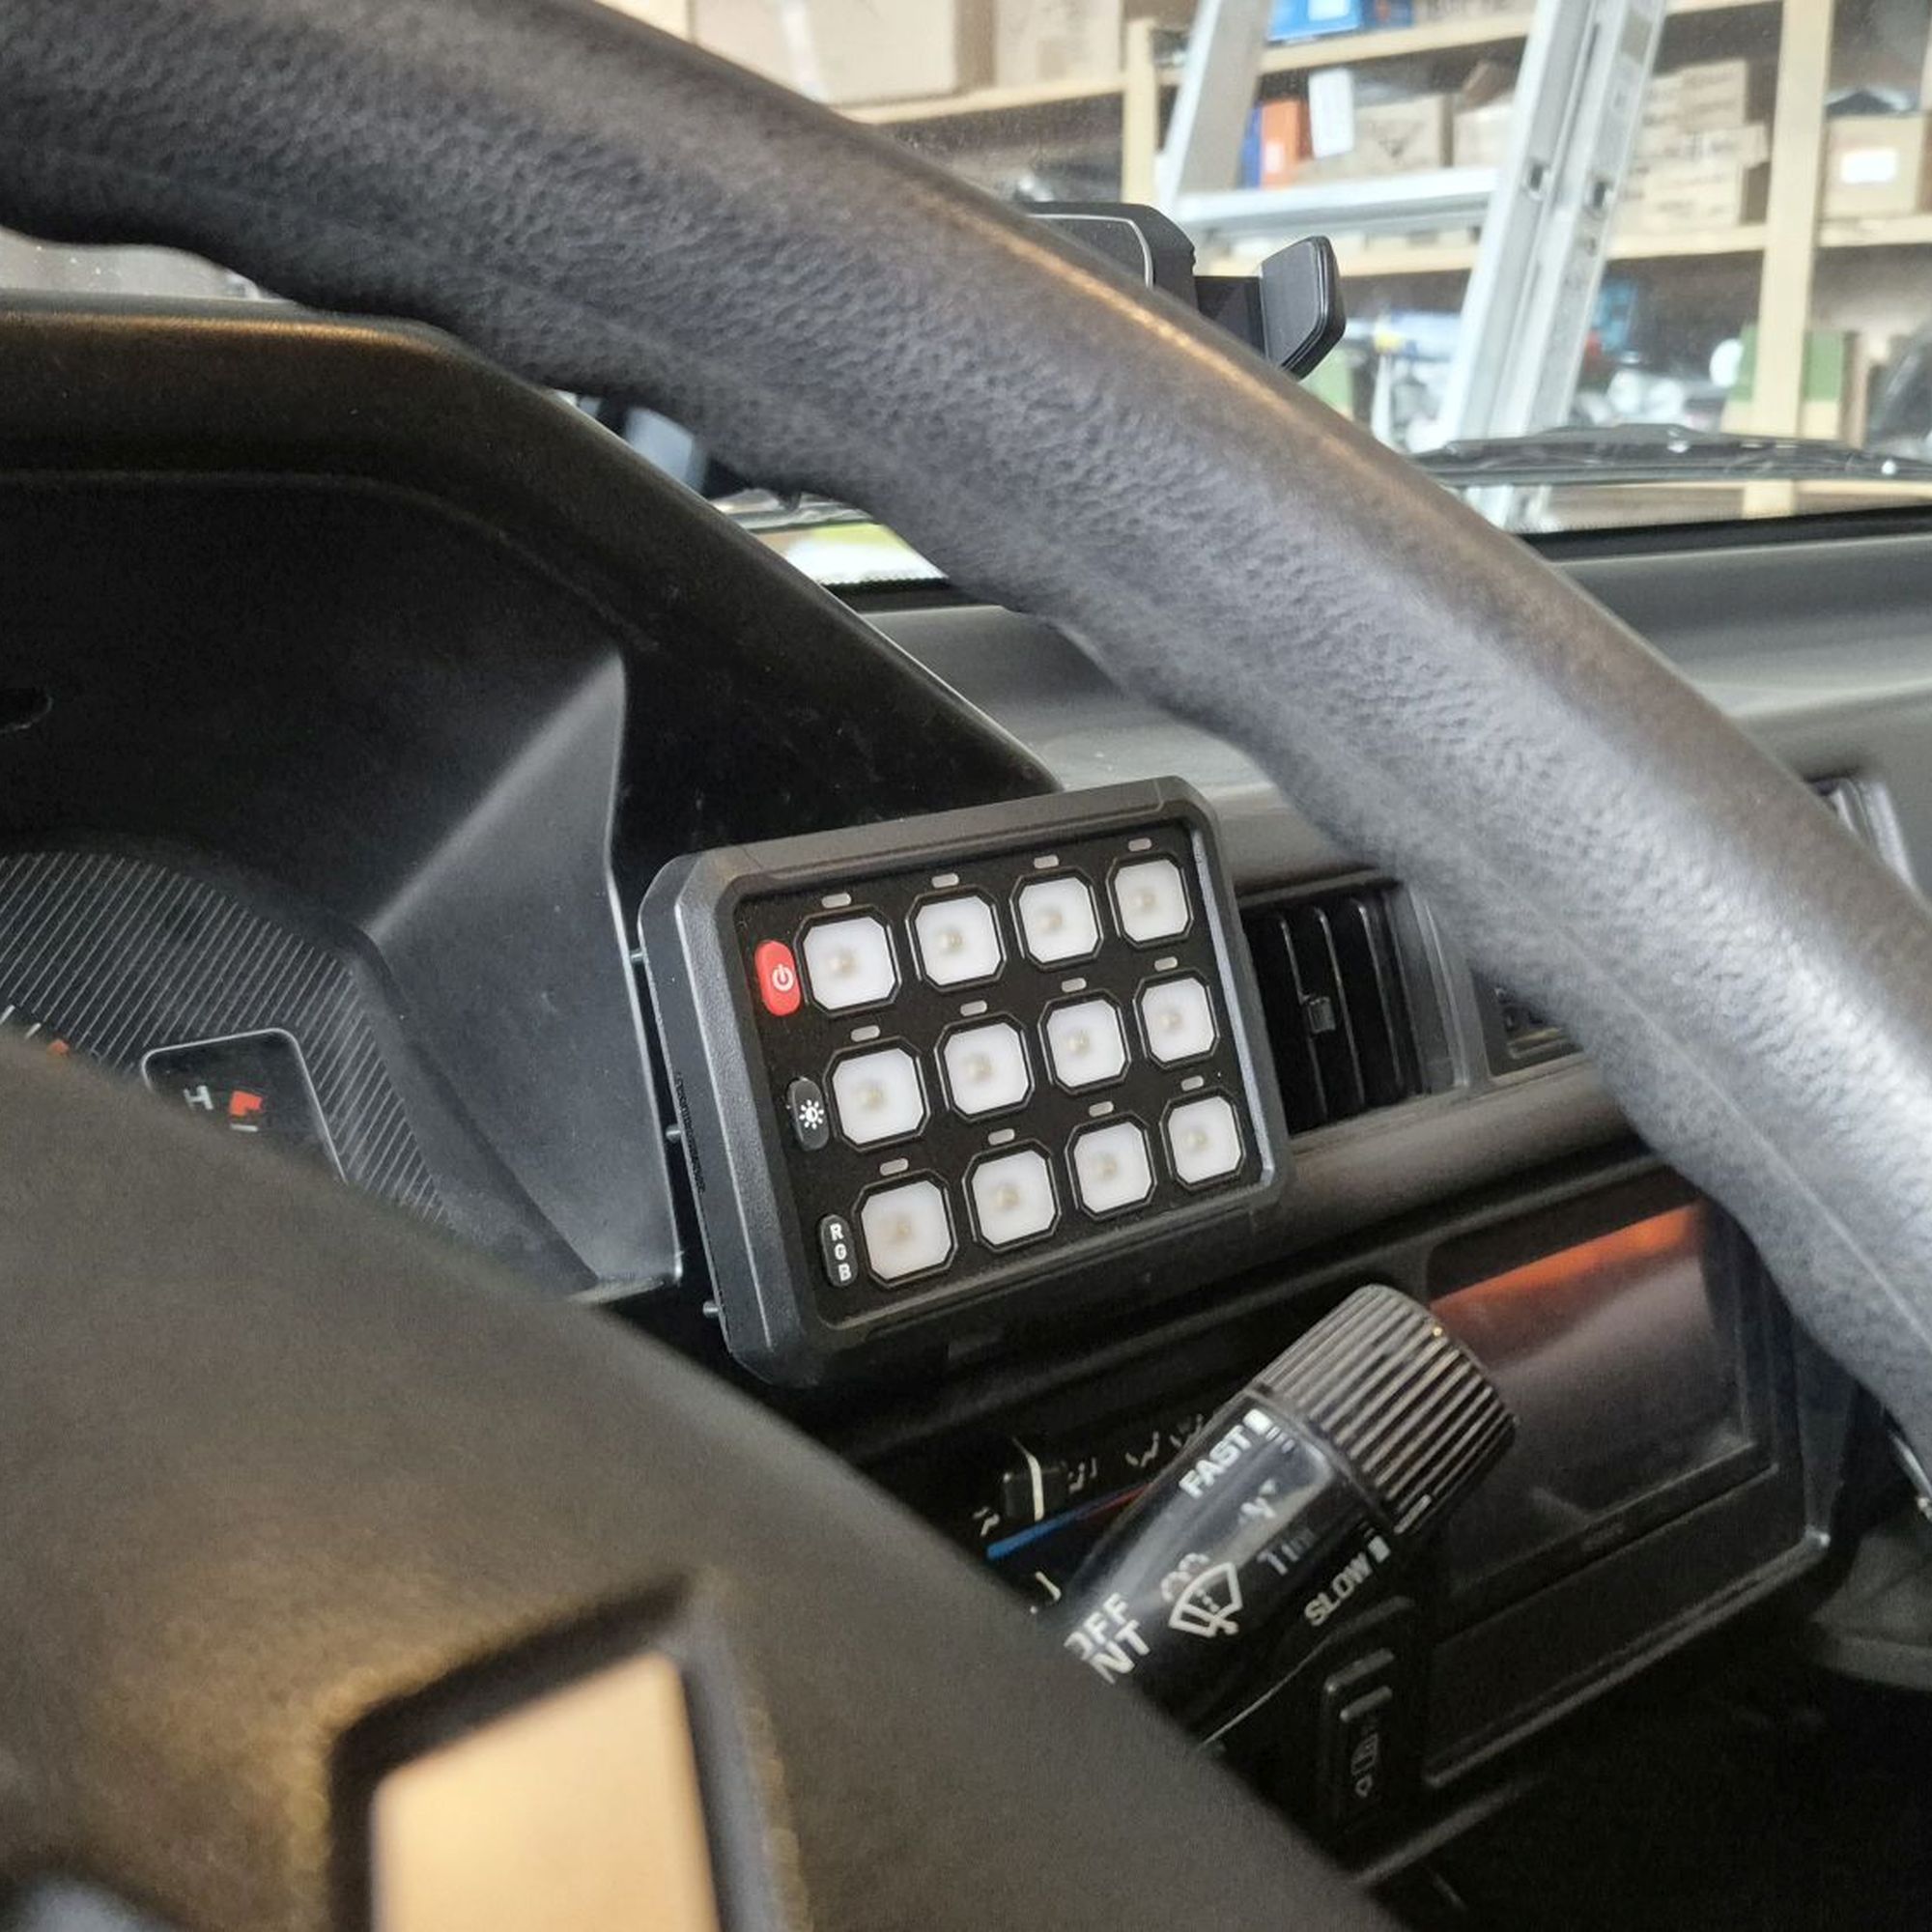
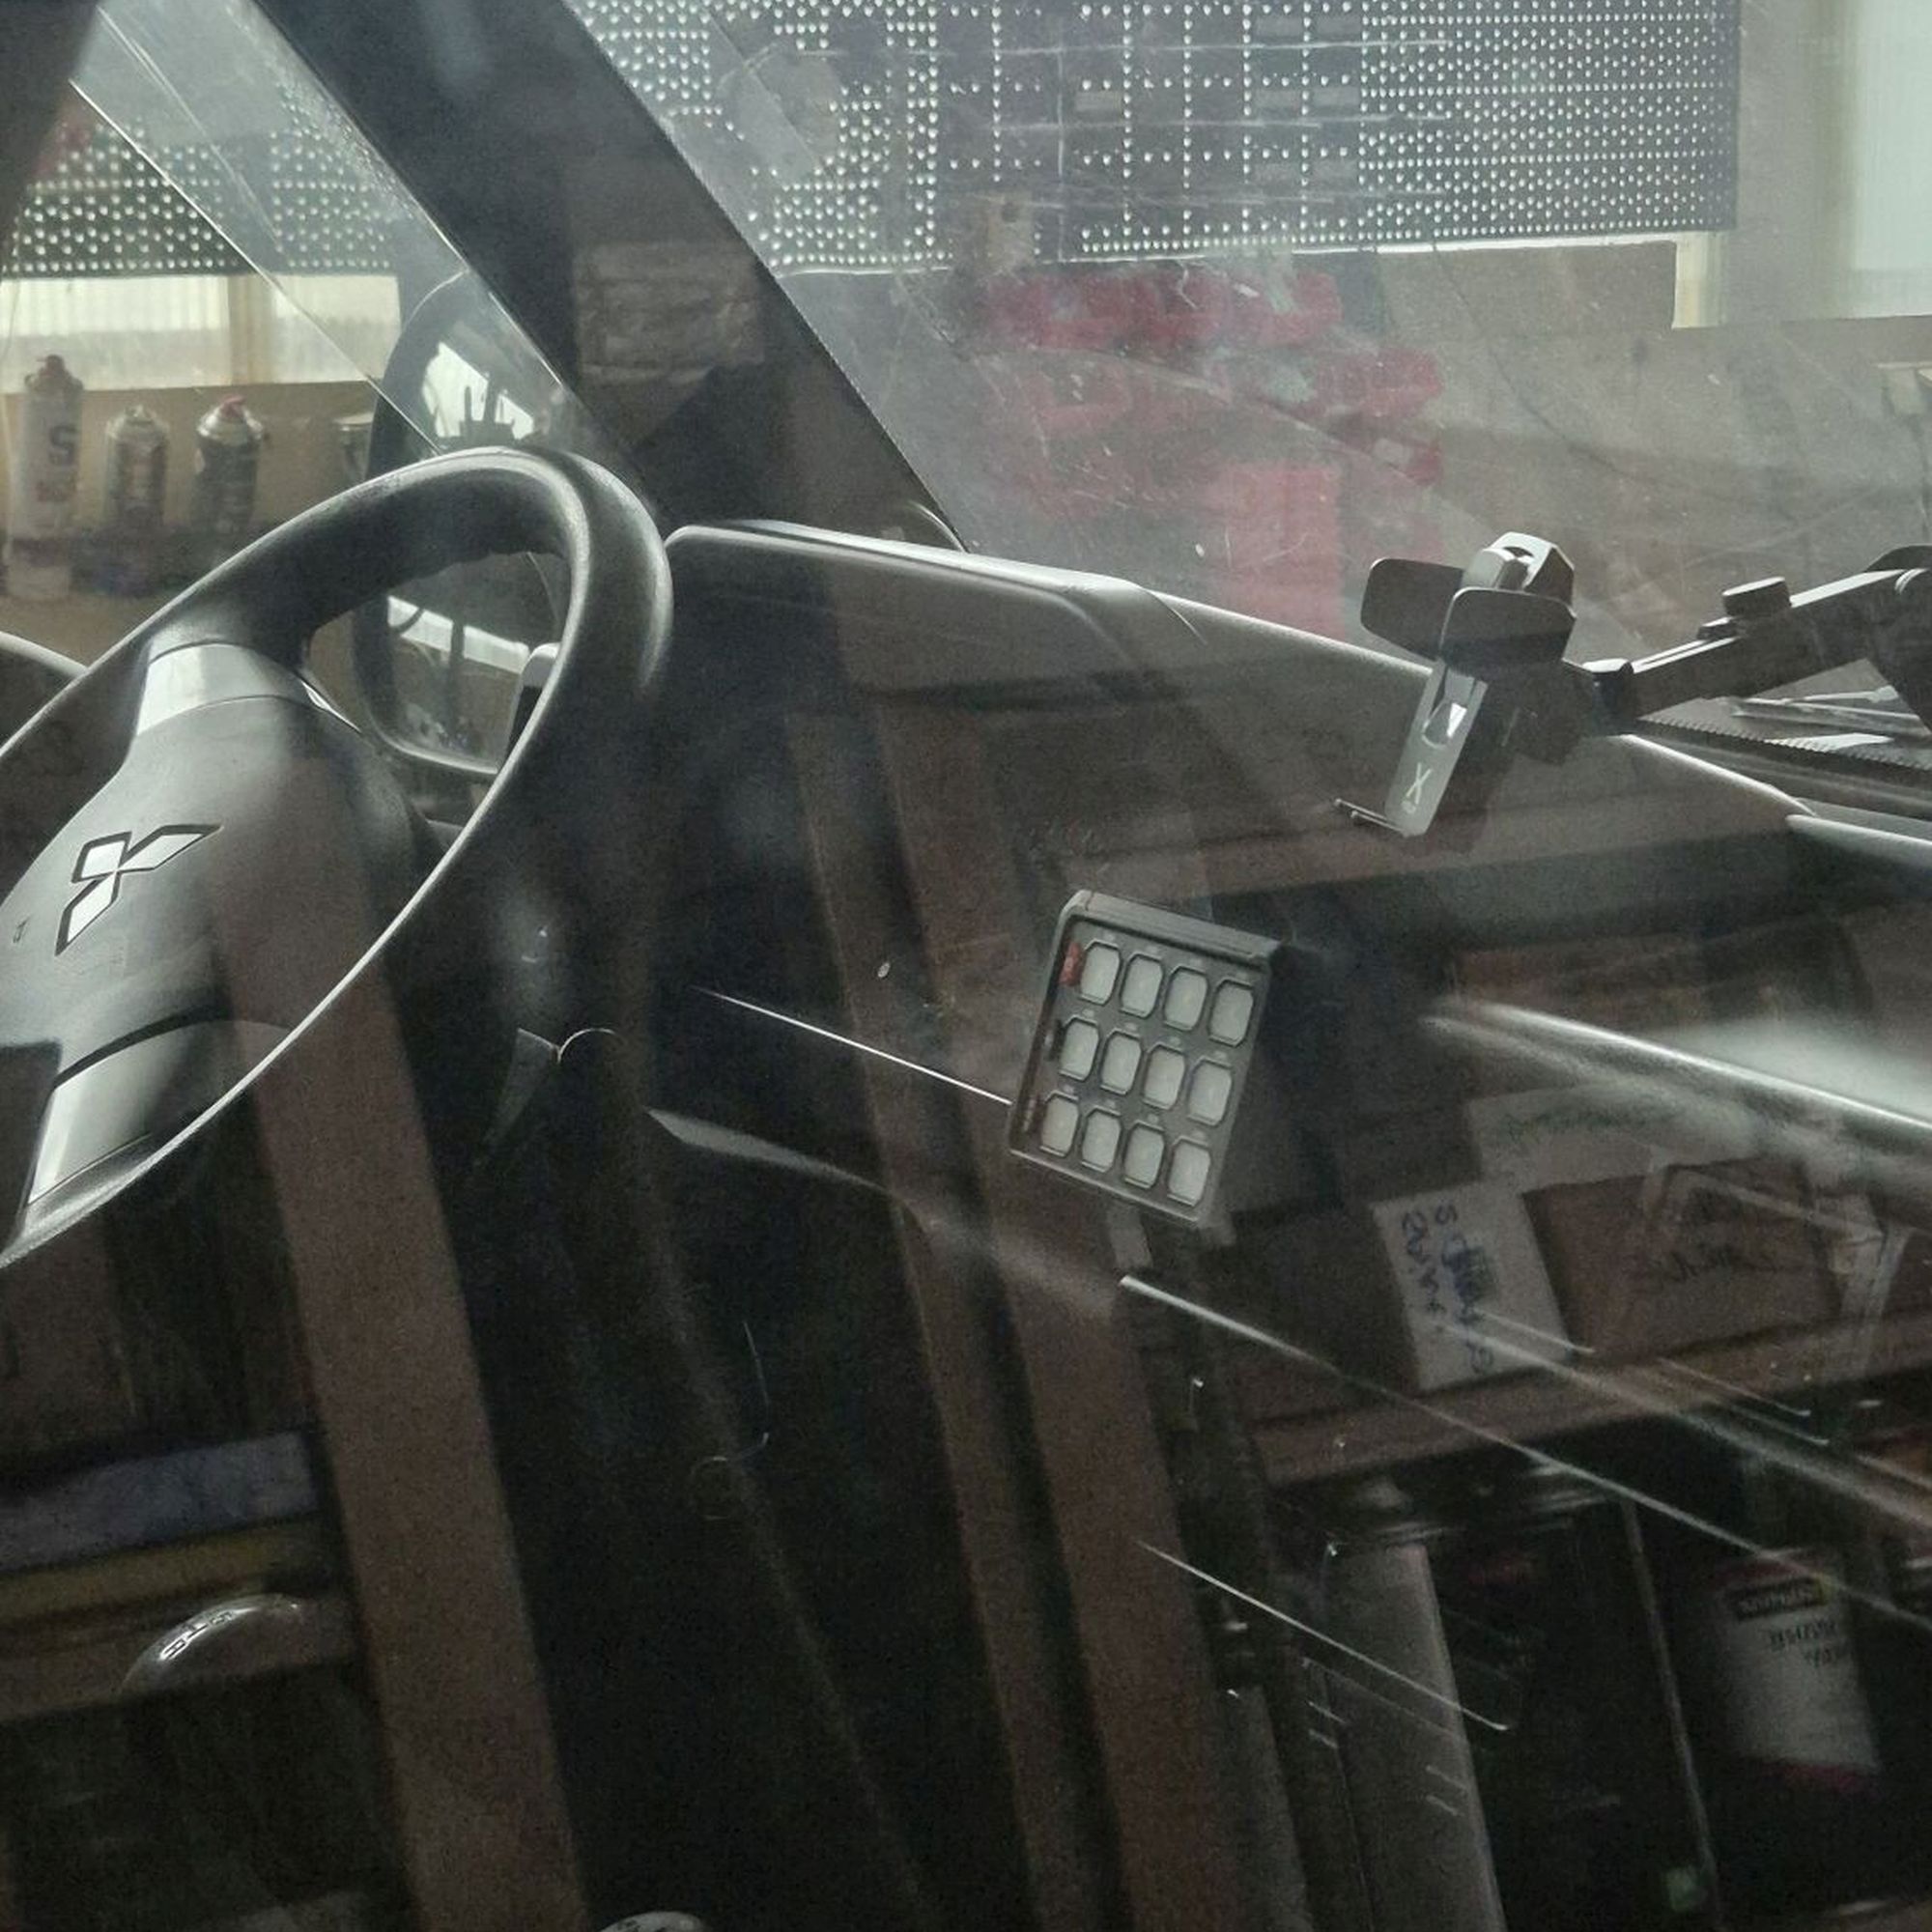
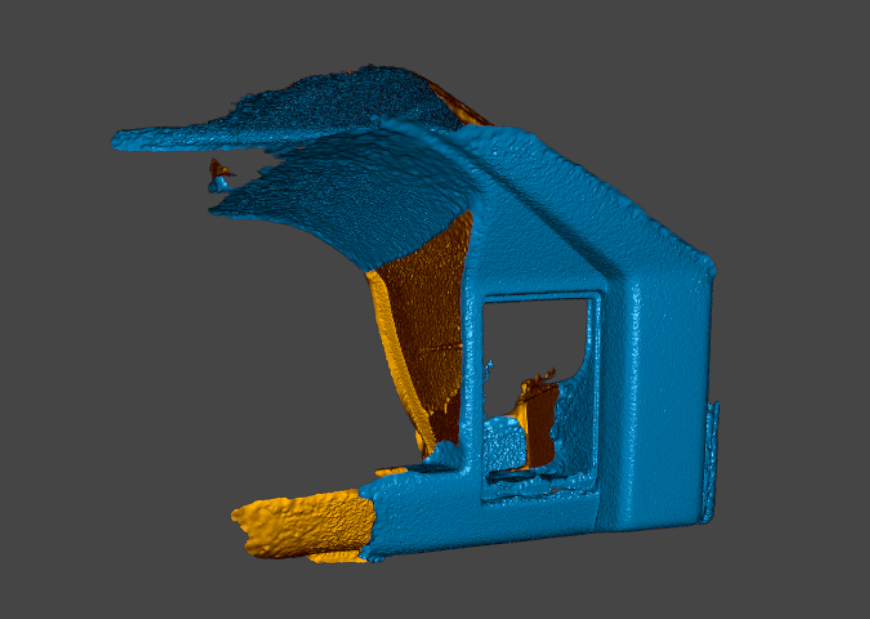
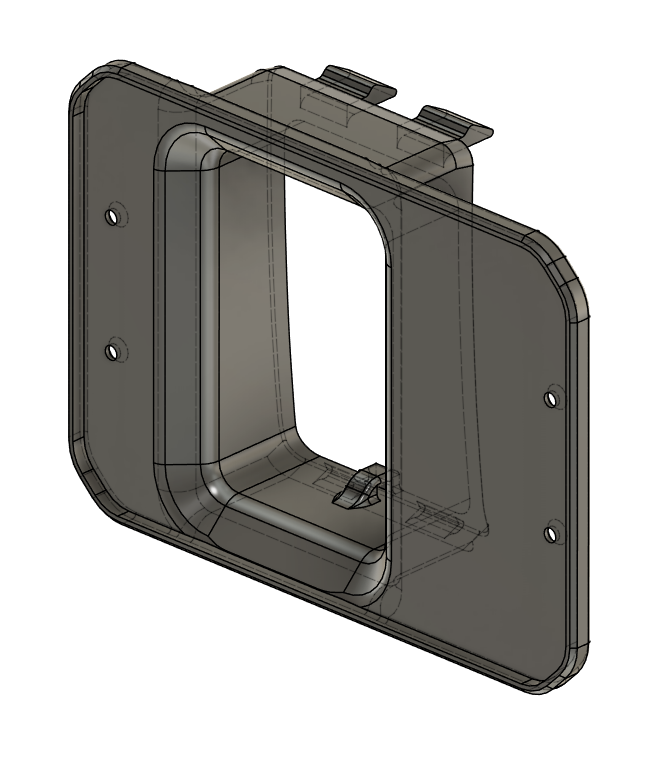
After 3D scanning the dashboard and gauge surround, I designed a custom adapter that mounts exactly where the original blank panel sits.
No cutting.
No destroying 30-year-old plastics that are basically impossible to replace now.
Everything can still be returned to stock if needed.
Realistically though, that probably won’t happen.
Parts used
- Colight 12 Gang
- in dash switch panel mount available in our shop
Overengineering Potential
And then there’s the slightly more obsessive side of this project.
The keypad communicates with the relay module using simple signals.
Which means that theoretically, it should be possible to intercept that communication and place another device in between.
And once you can do that, outputs no longer have to depend only on button presses.
They could react to:
- temperature,
- pressure,
- ignition state,
- reverse gear,
- sensor inputs,
- or whatever unnecessary level of overengineering seems like a good idea this week.
I may or may not already have plans for that.