
One Year of Designing a Rear Bumper
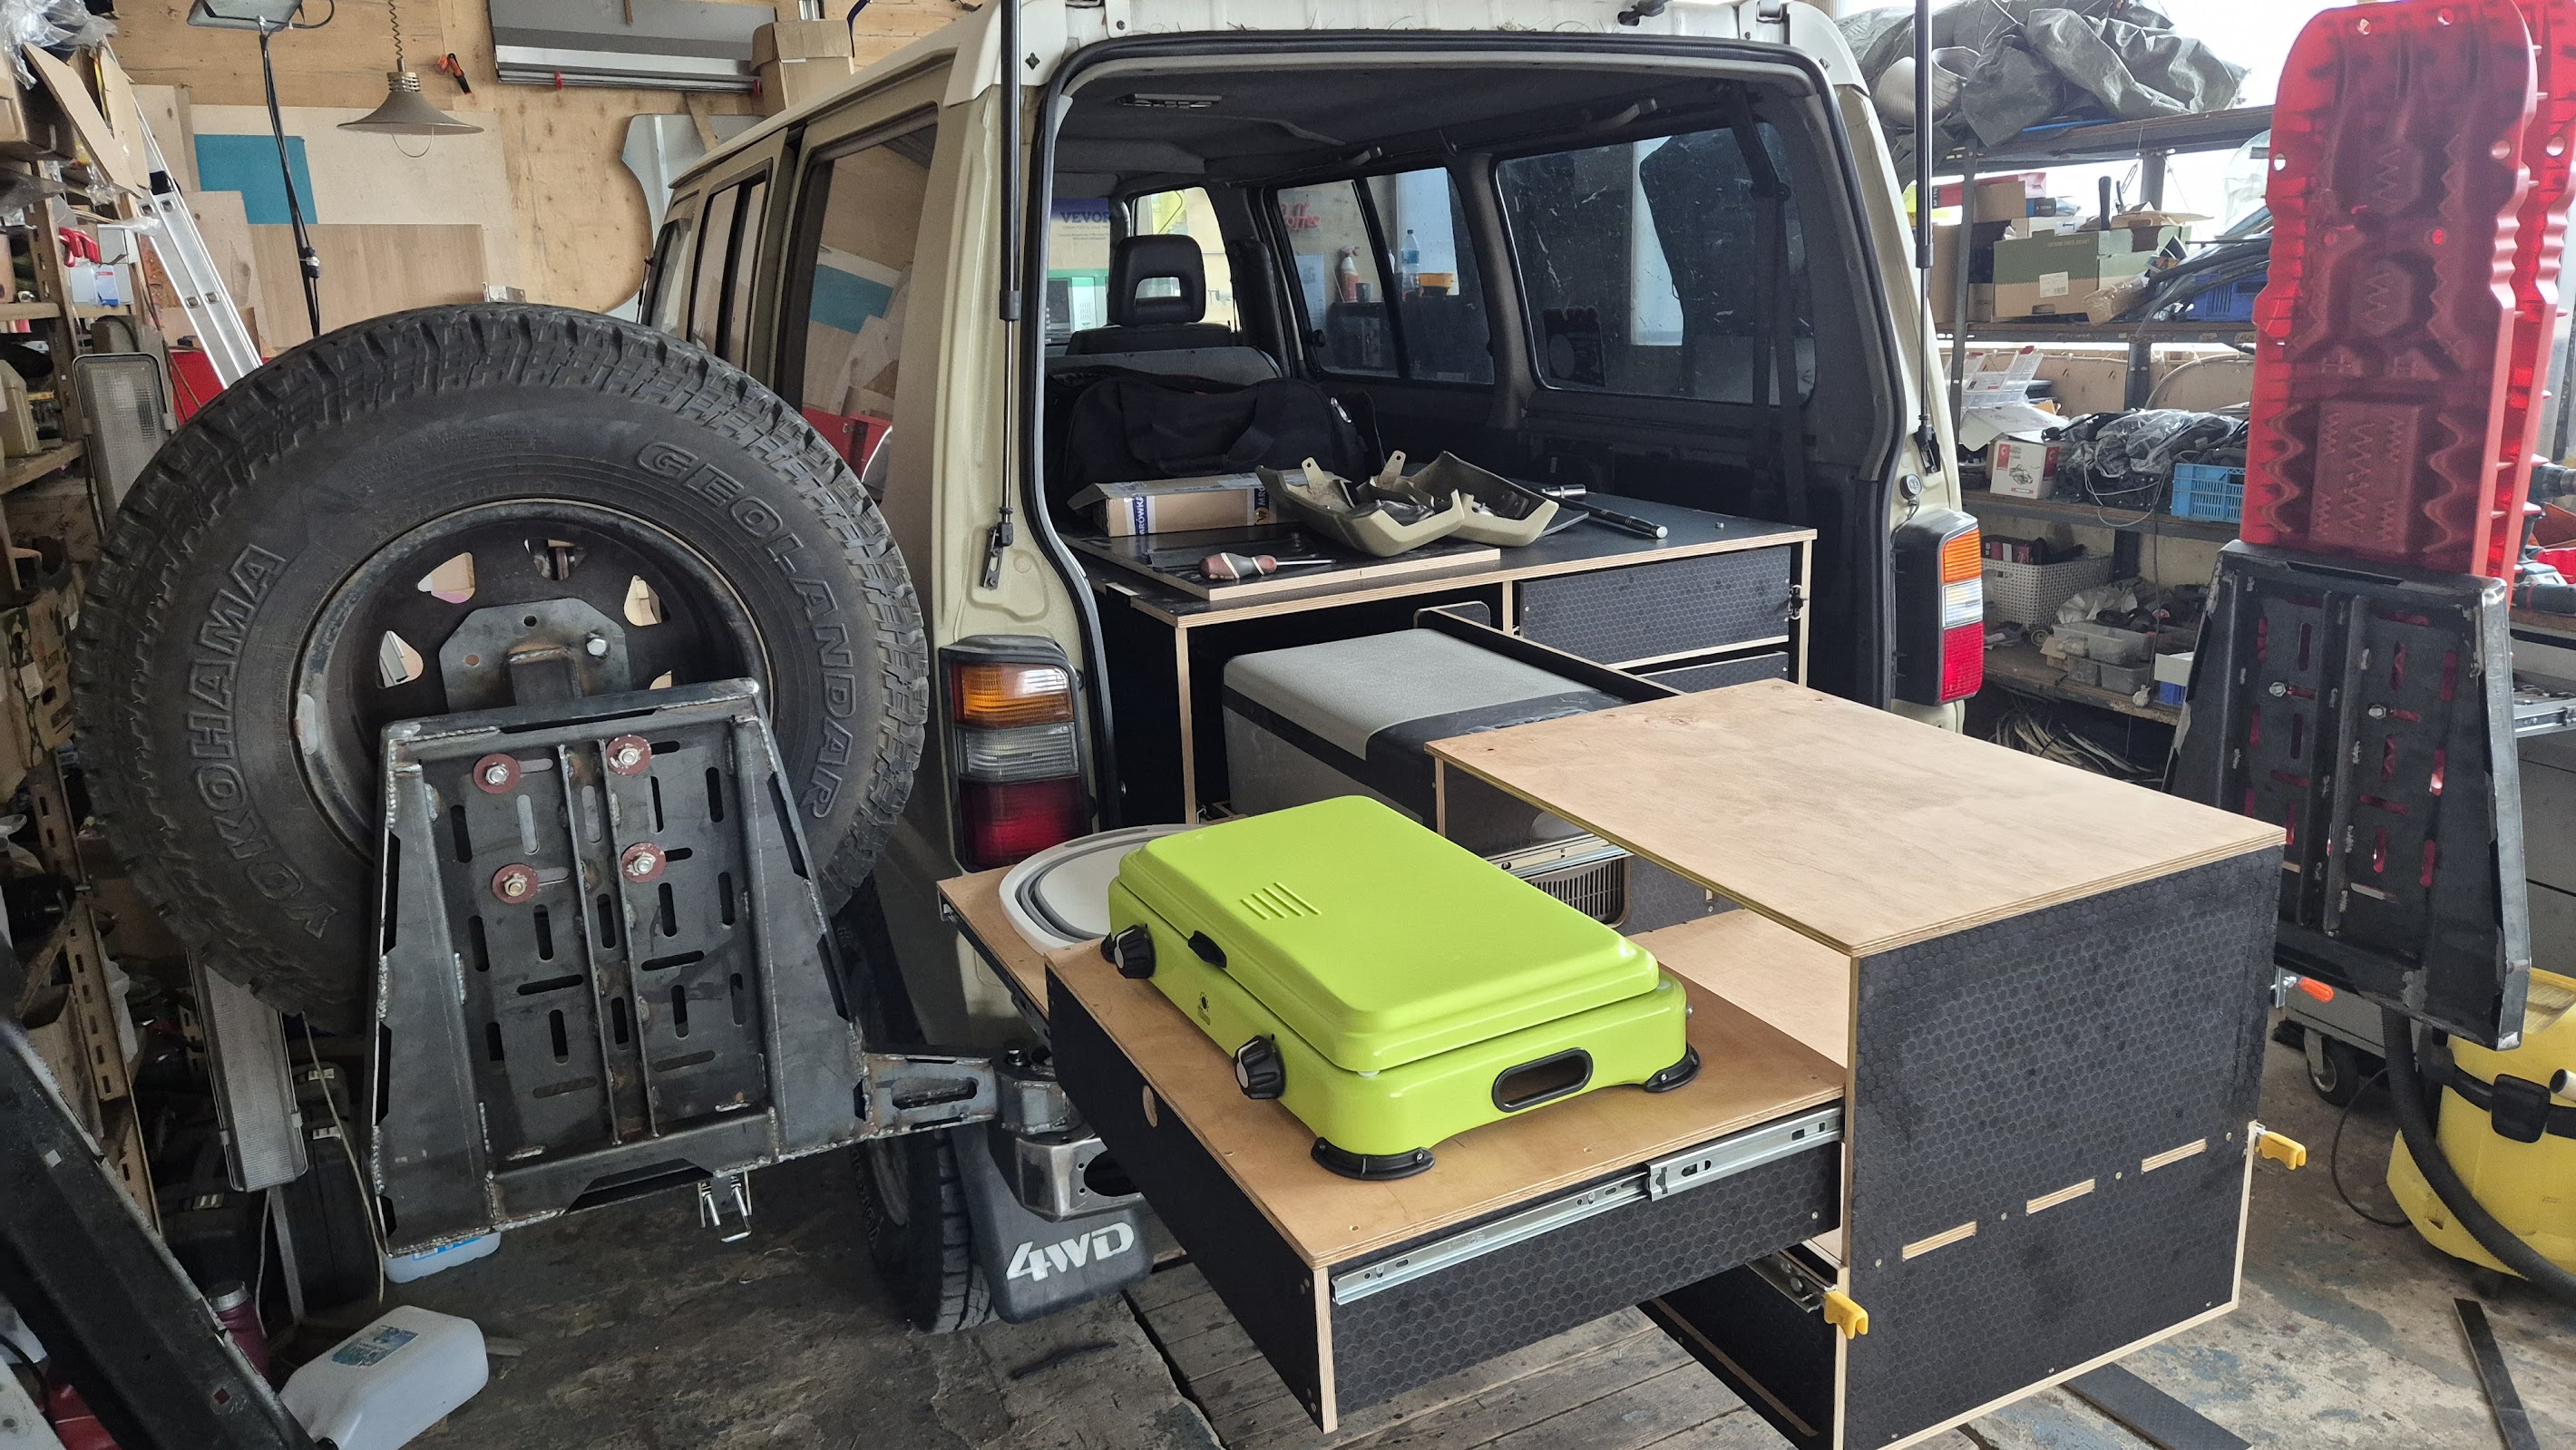
Some projects take a weekend. This one took almost a year.
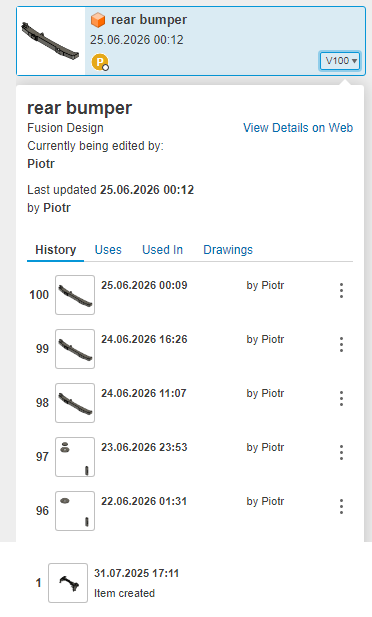
The first version of this project in Fusion 360 was created on July 31, 2025. I installed the finished bumper on June 28, 2026. Between those two dates, the project went through almost one hundred saved versions.
Most of those versions were not small changes. Several times I completely changed the design, removed ideas that did not work well, and came up with better solutions. Only when I was happy with the whole design did I start making the real parts.
Where did the idea come from?
The main reason was actually very simple.
I wanted to make the van more practical for trips and camping.
I didn't want a bumper that could only carry a spare wheel. I wanted a modular system that could also hold recovery boards, a fuel can, and maybe even a bike rack in the future.
And there is one more reason.
I simply wanted the L300 to look more like an expedition vehicle.
I built this van for myself, so I wanted it to be practical, but I also wanted it to look right. In my opinion, a well-designed rear bumper can completely change the look of the vehicle while still feeling like it belongs there.
Everything started with a 3D scan
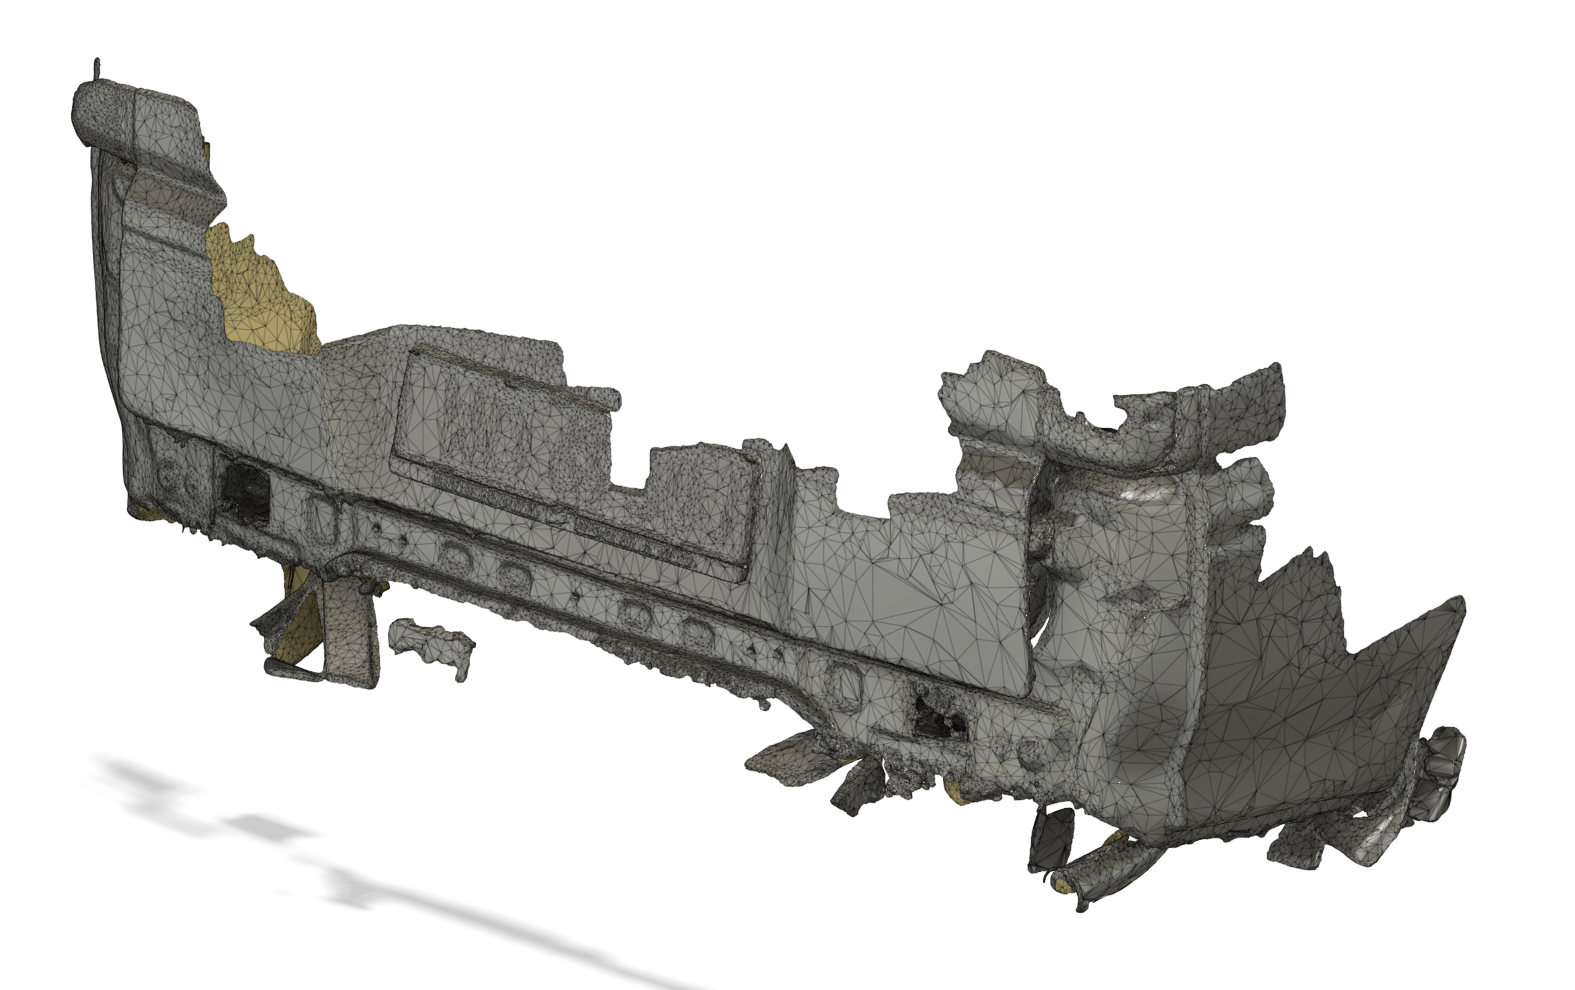
Before drawing the first part, I scanned the rear of the van and all the mounting points underneath.
That allowed me to design every part around the actual vehicle instead of working from measurements alone.
From the beginning, I also wanted this to be a proper engineered design, not a one-off fabrication. Every part was designed so it could be made accurately and repeated without having to modify each bumper by hand.
It became more than just a bumper
Very early in the project I realised that designing only the bumper didn't make much sense.
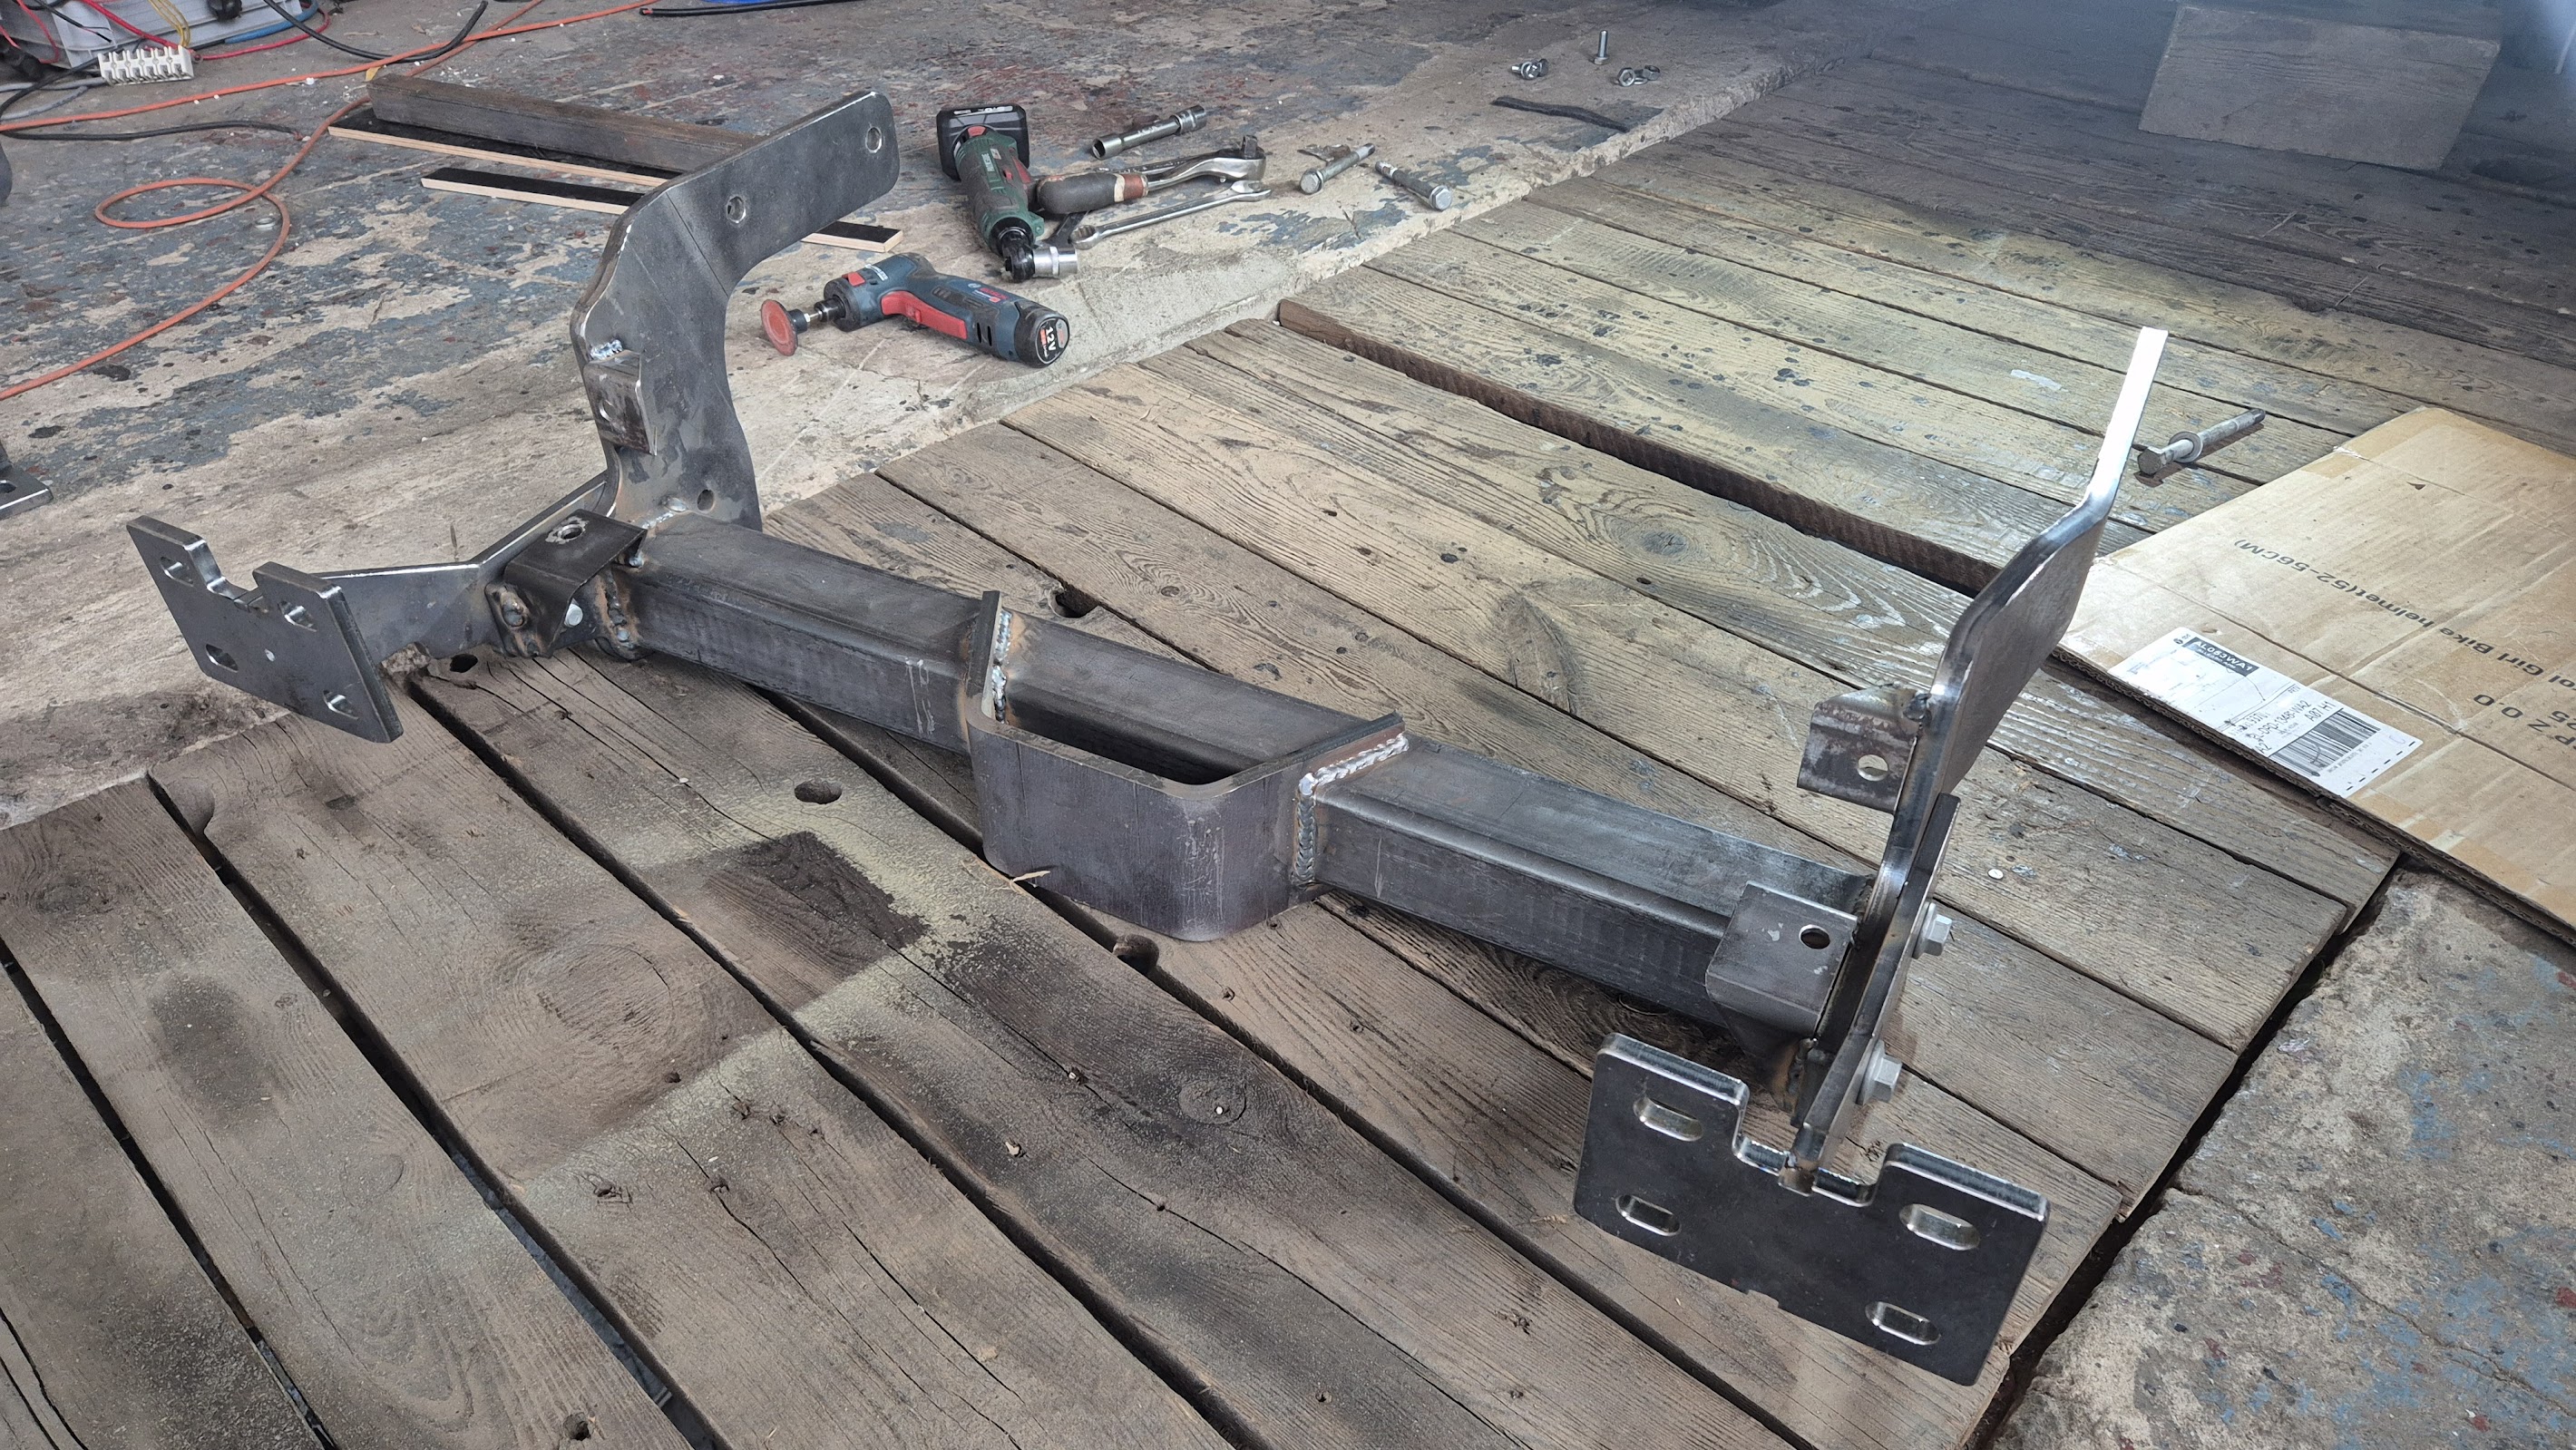
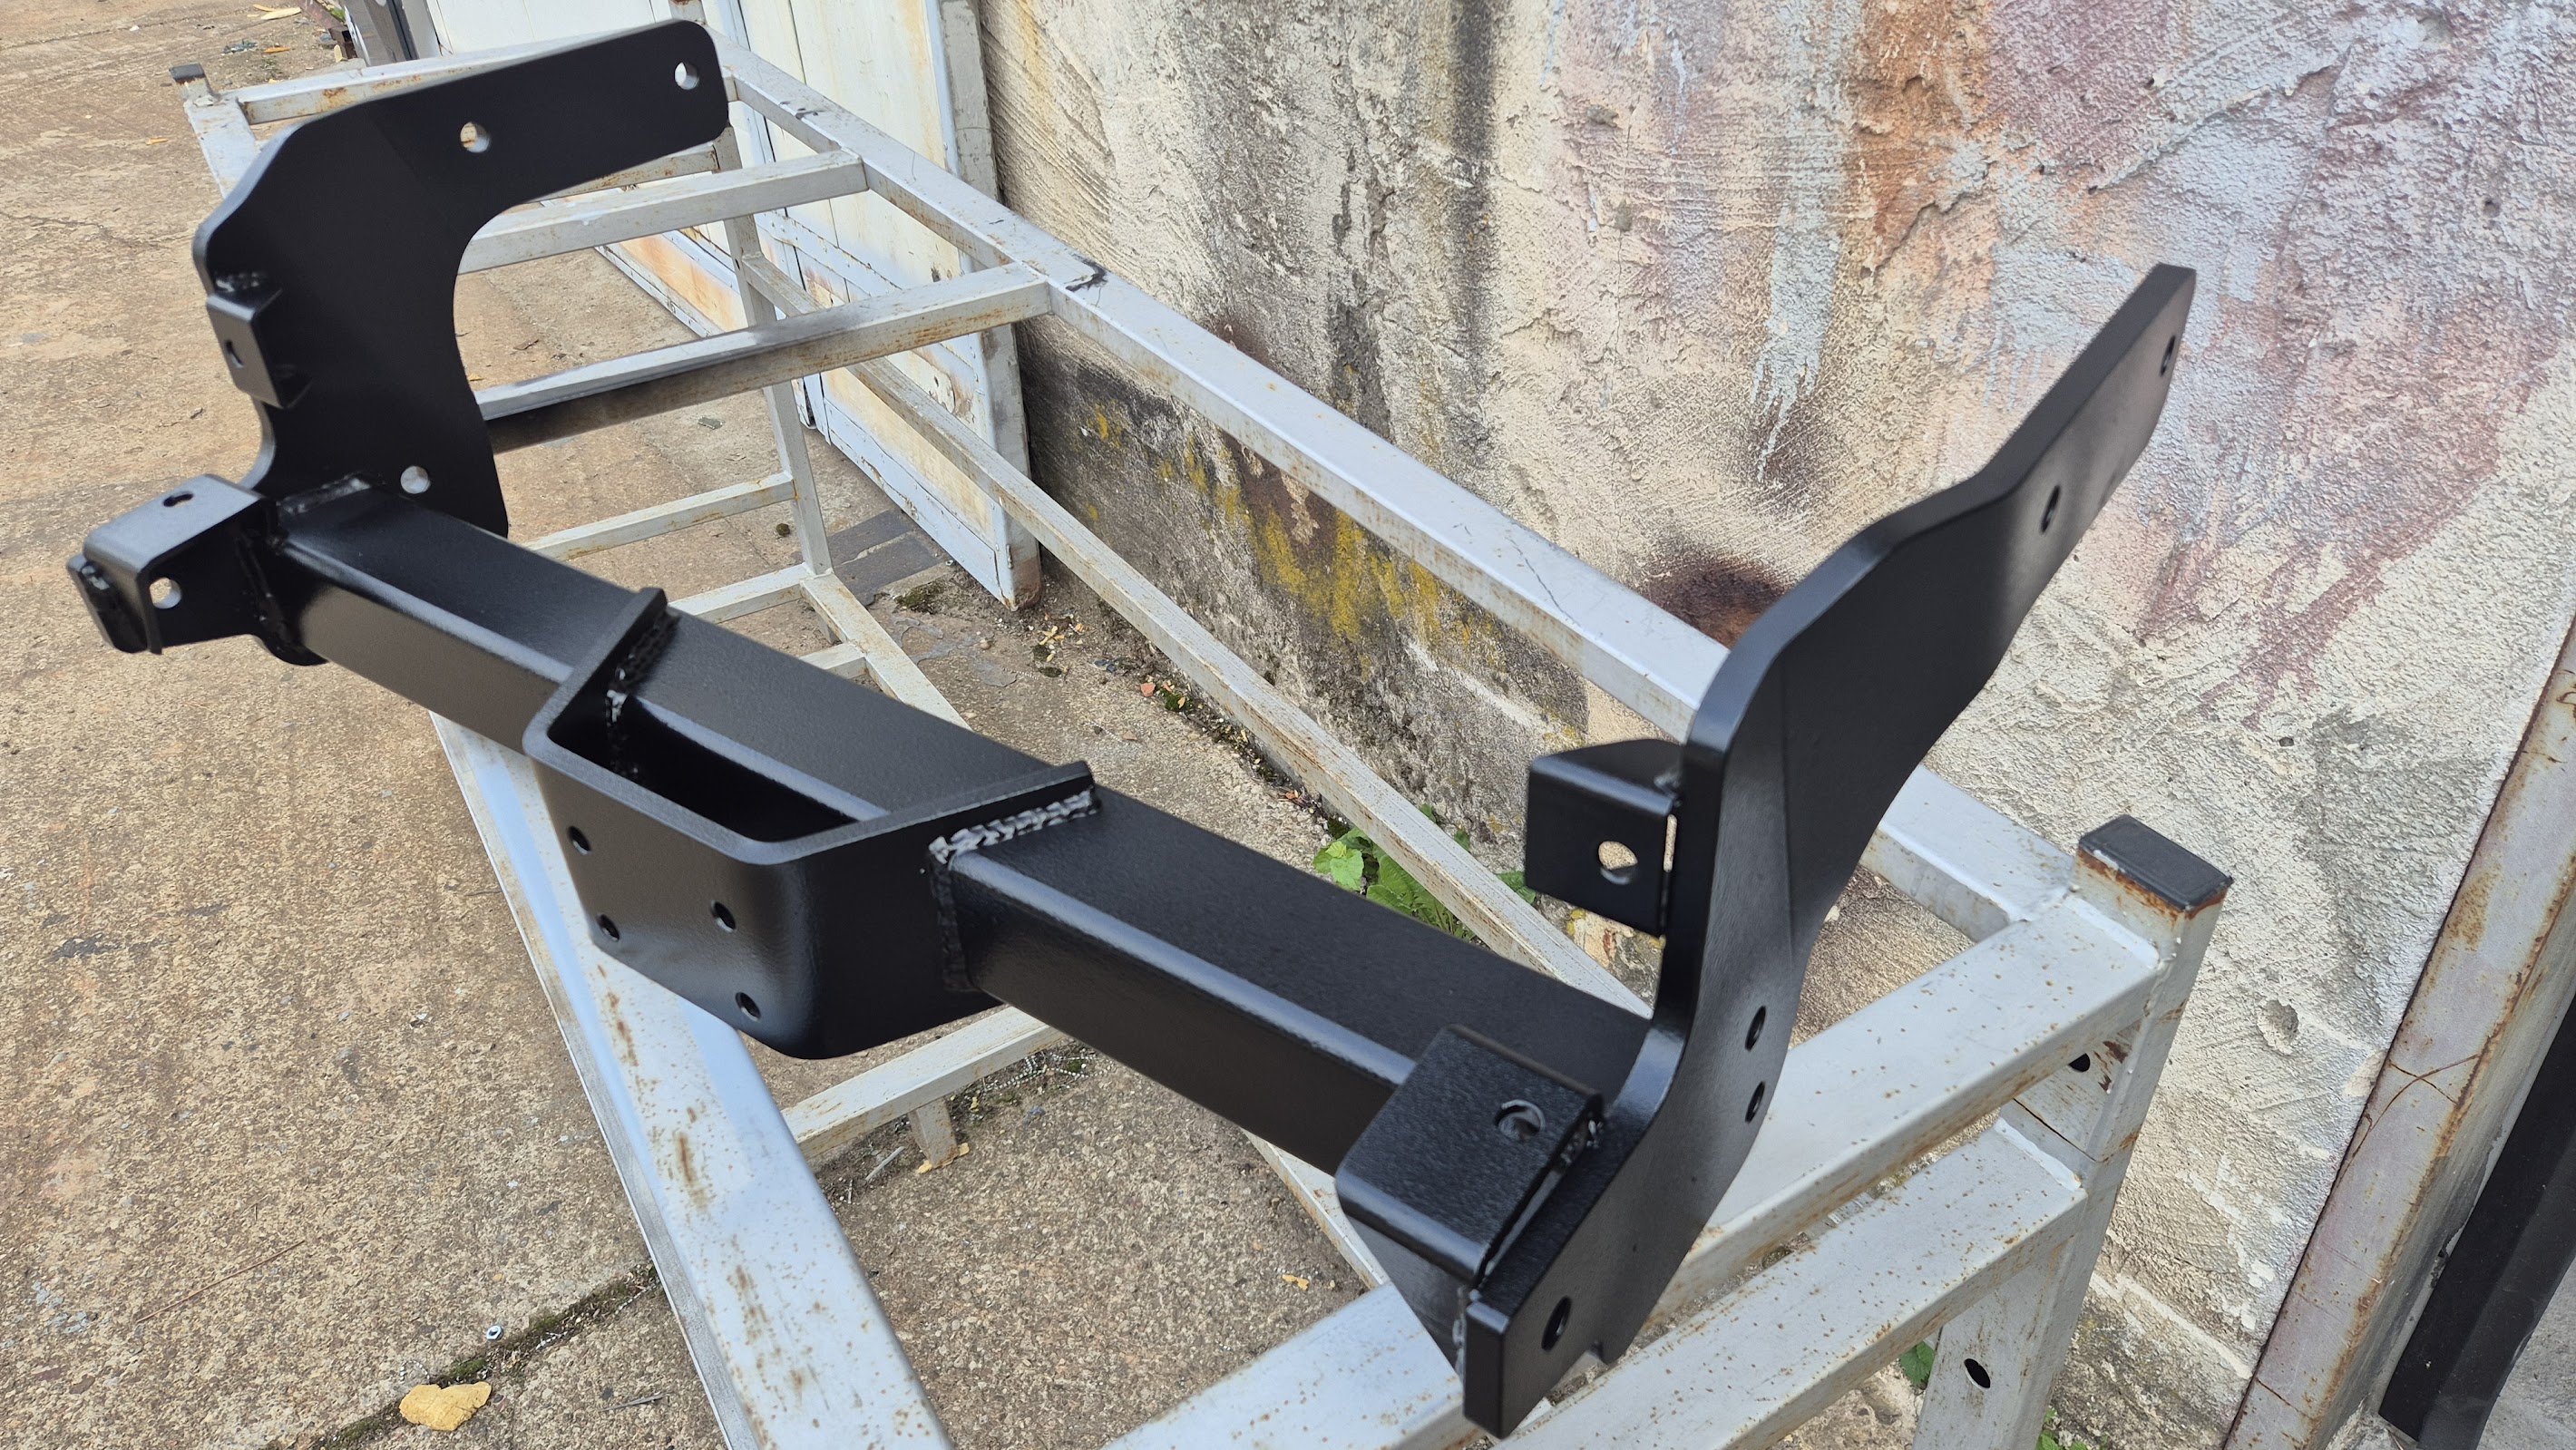
The factory tow bar sat too low, reduced the departure angle and didn't fit the direction I wanted to take with the build.
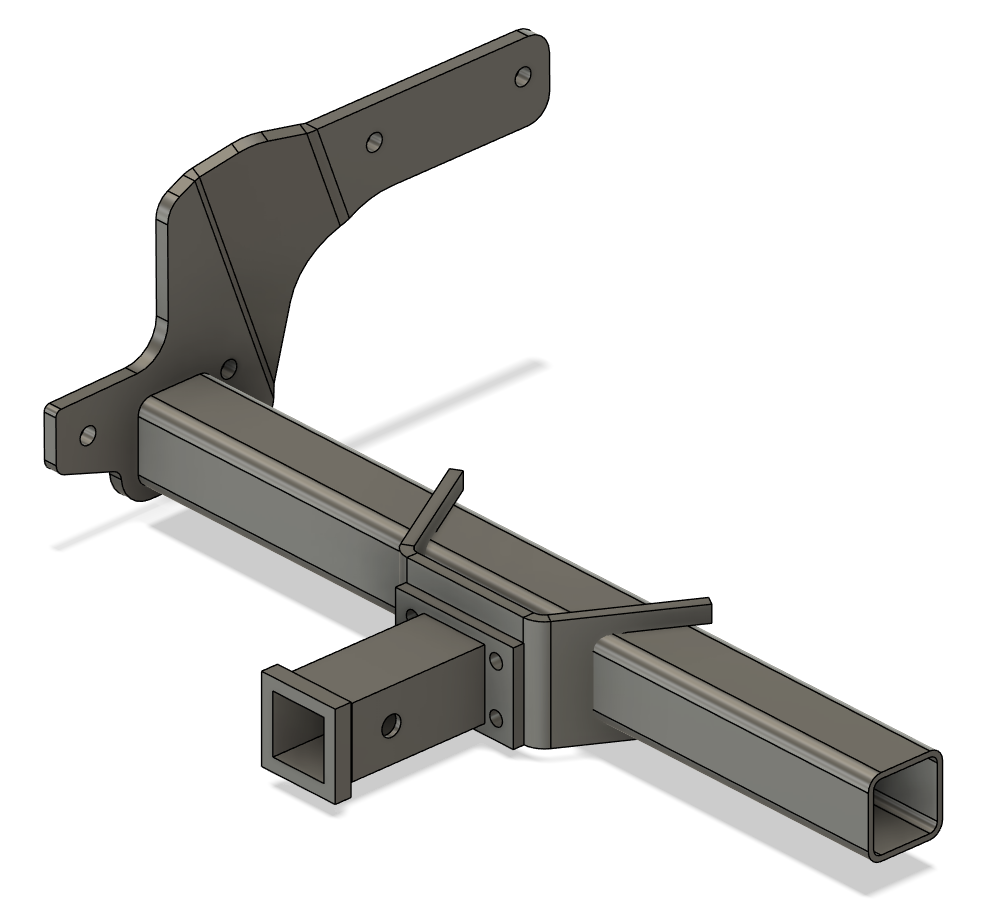
So I started by designing a completely new tow bar crossmember.
The bumper is mounted directly to this new crossmember. Instead of a fixed tow ball, I used a 2-inch receiver system. That means I can install the tow hitch only when I actually need it. The rest of the time, nothing hangs below the bumper and the departure angle is much better.
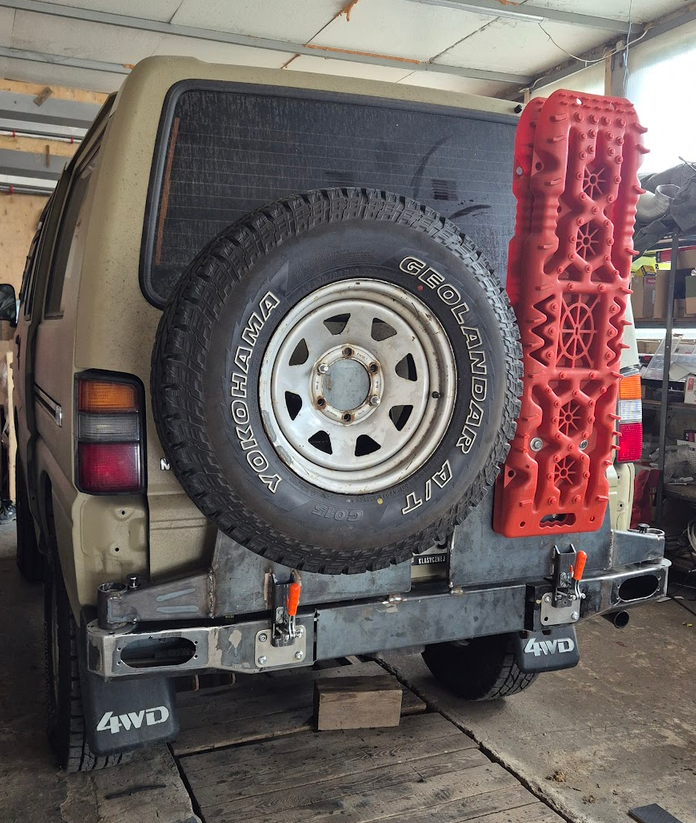
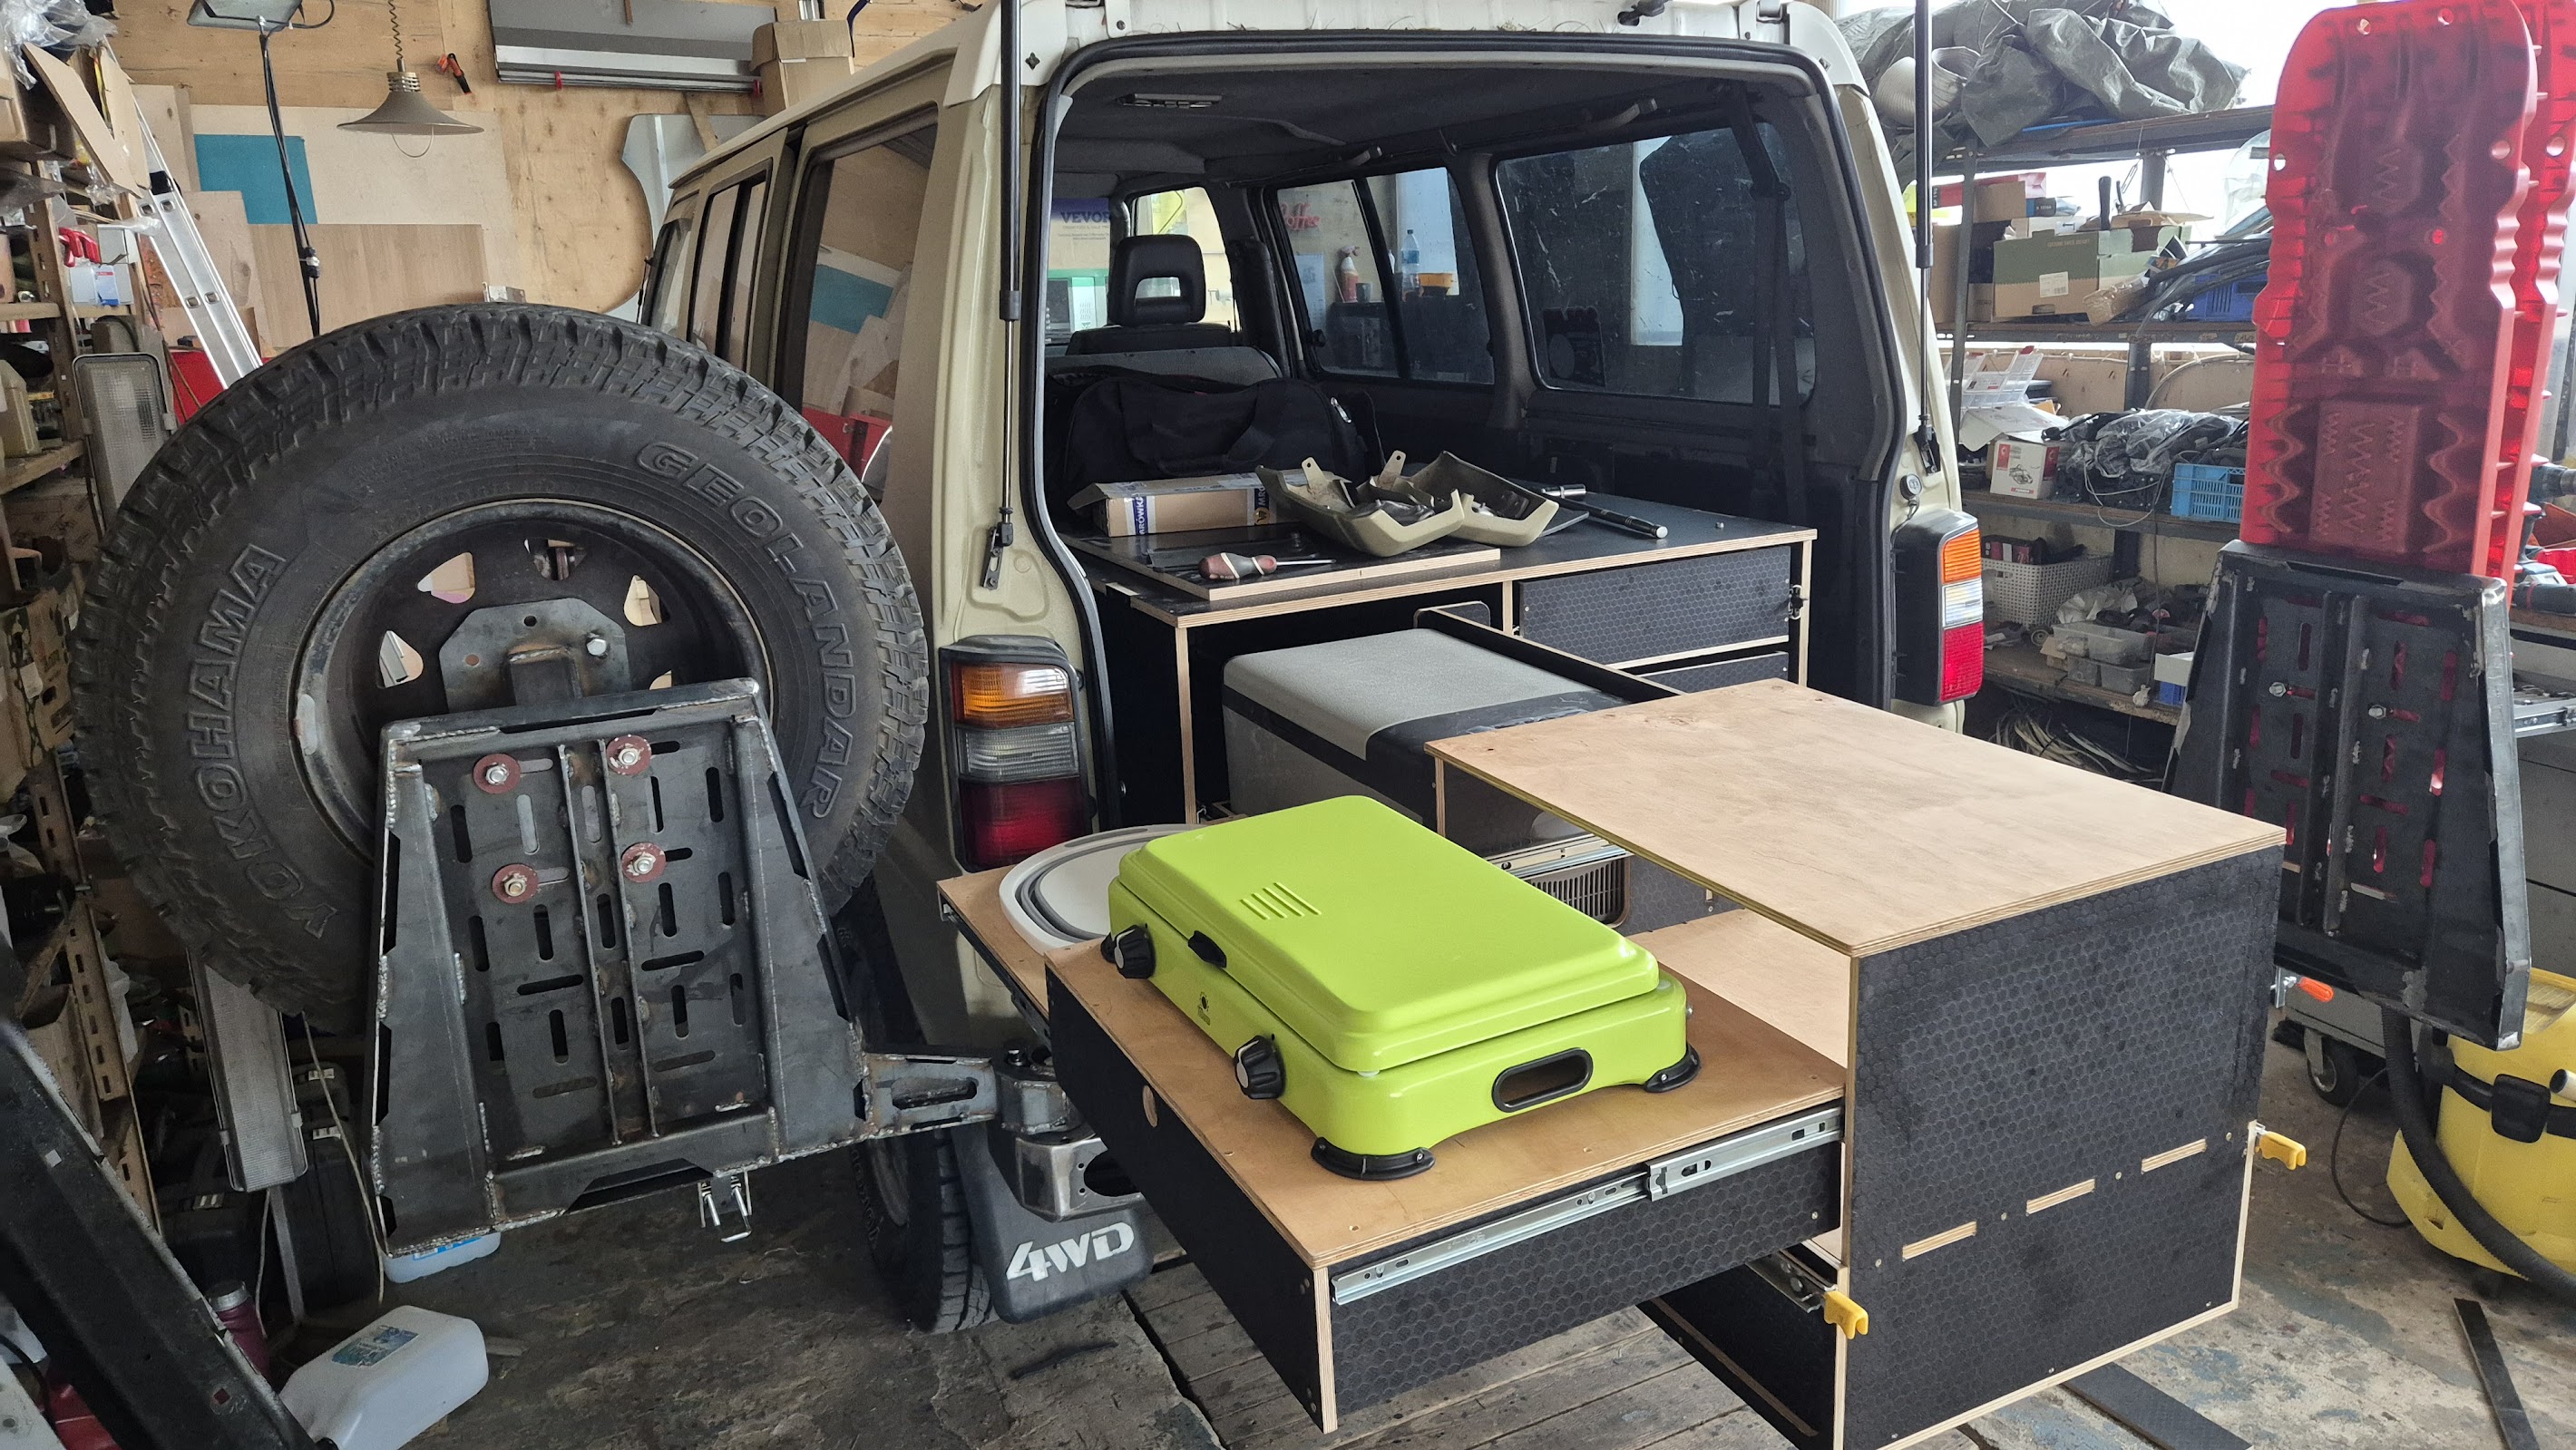
The finished bumper
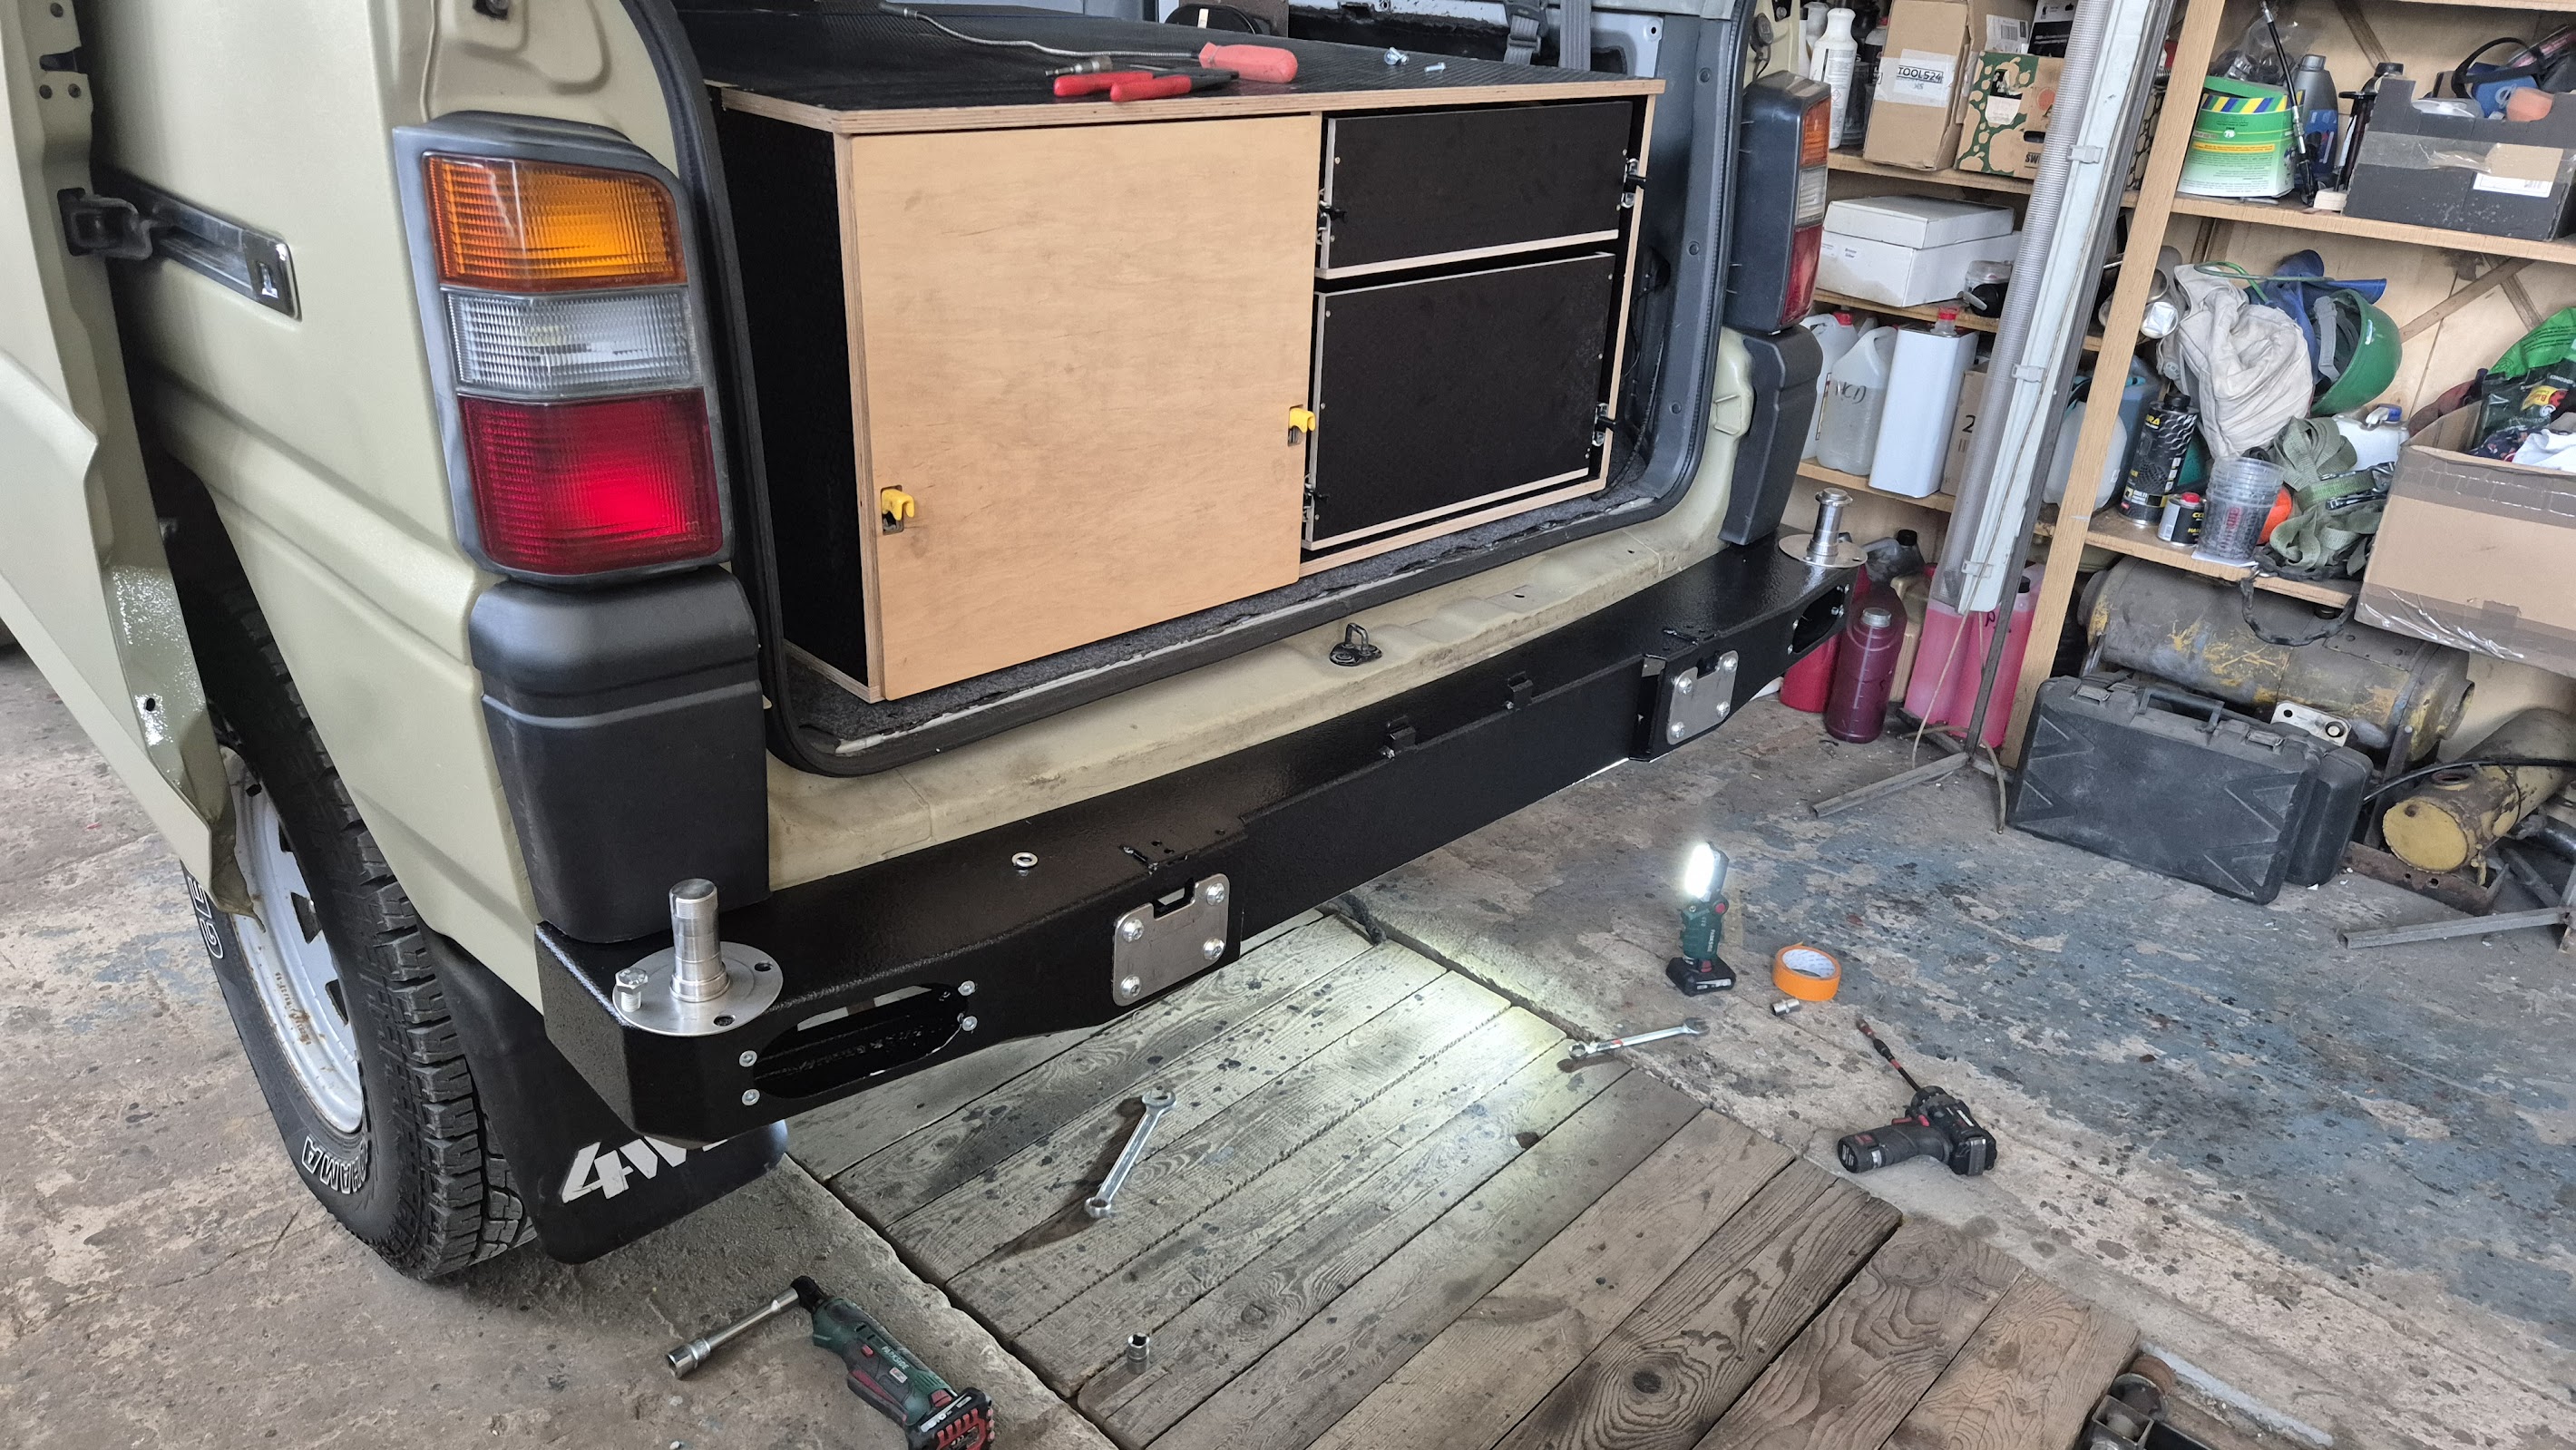
The bumper is made from laser-cut steel parts that were bent on CNC press brakes.
The main body is formed from one bent steel panel instead of several welded pieces. This gives cleaner lines, better consistency and a stronger structure.
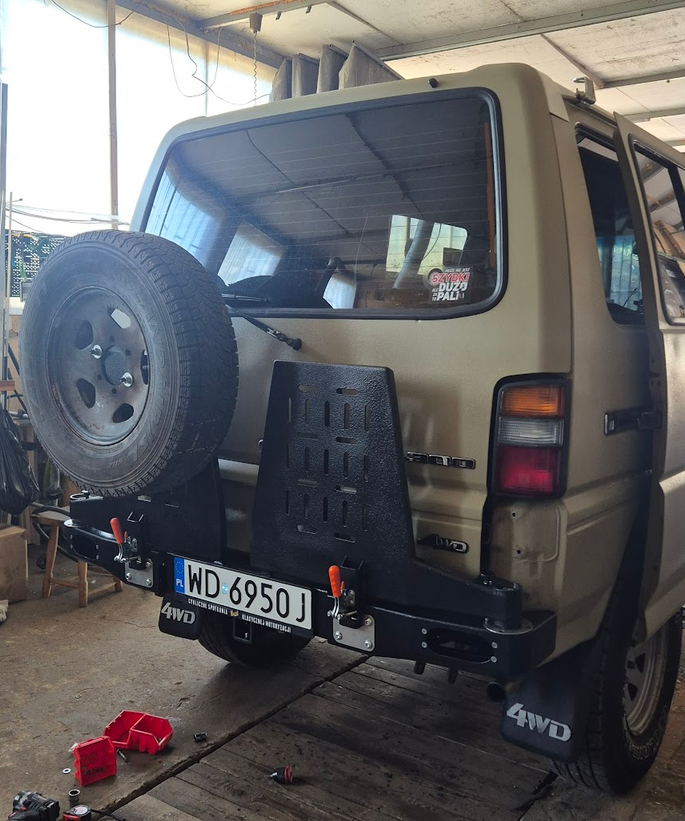
The bumper is mounted to the custom tow bar crossmember and has two swing-out arms with universal mounting plates.
Right now one arm carries the spare wheel, but the system was designed to grow. I already plan to design mounts for recovery boards, fuel cans and other equipment.
Another important part of the project was the lighting.
An off-road bumper doesn't feel complete without proper lights, so I designed them into the bumper from the beginning.
I chose dual-function LED lights. White light is used for reversing and as a work light around the vehicle. Red light works as the rear fog light. One set of lights does both jobs while keeping the rear of the van clean and simple.
Corrosion protection was just as important.
After welding, every part was coated with two layers of epoxy primer before being finished with polyurethane coating. The visible parts have a thicker textured finish to match the front bumper and hide small scratches from everyday use. The hidden structural parts have a smoother finish, with the focus on long-term protection.
This is only the beginning
Looking at the finished bumper, it's easy to see only the final result.
The interesting part is everything that happened before that.
Why did I design my own tow bar?
Why did I use tapered roller bearings for the swing arms?
How does the locking system work?
Why is the bumper made from one bent panel?
In the next articles I'll go through each part of the project, explain the design decisions and show how the bumper developed from the first CAD model into the finished product mounted on my Mitsubishi L300.