Bigger battery and additional power distribution
People on forums and Facebook groups ask about battery upgrades for the L300 all the time. The factory battery is quite small, especially if the van has extra accessories like additional lights, audio equipment or a winch.
After a few different setups, I finally ended up with a solution that works really well for me.
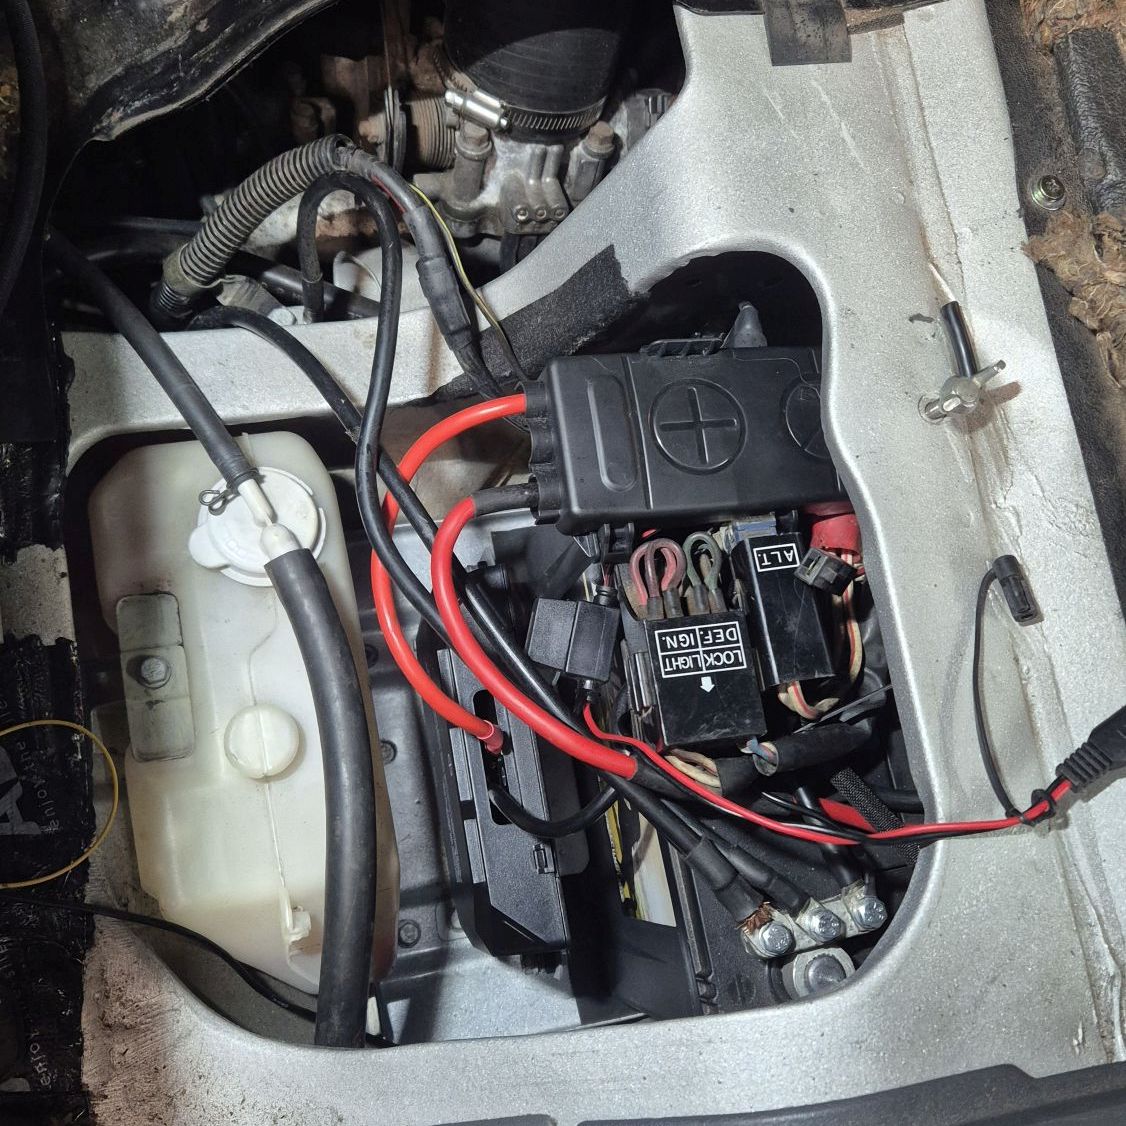
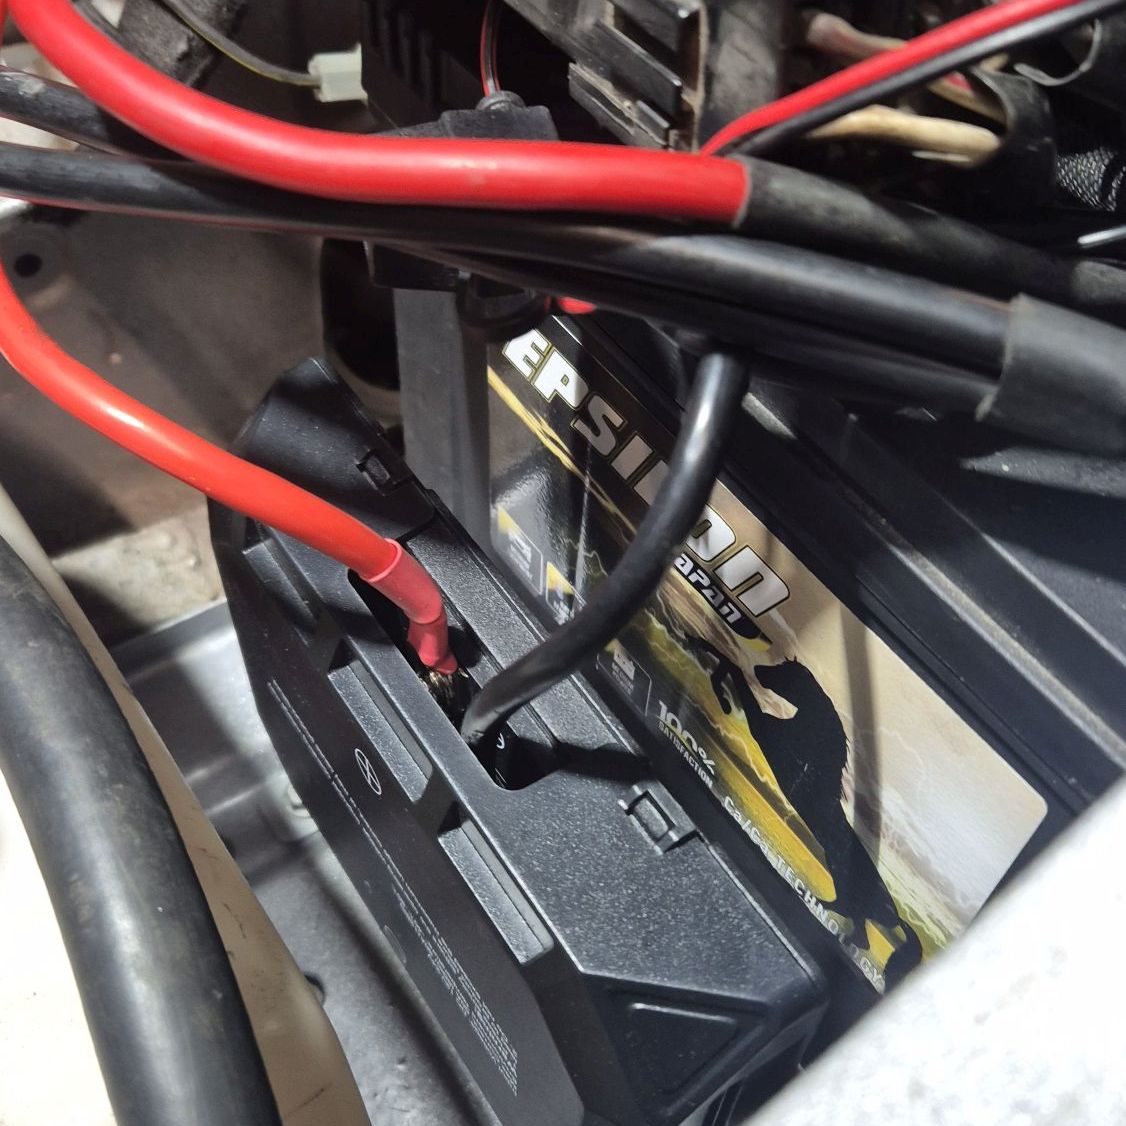
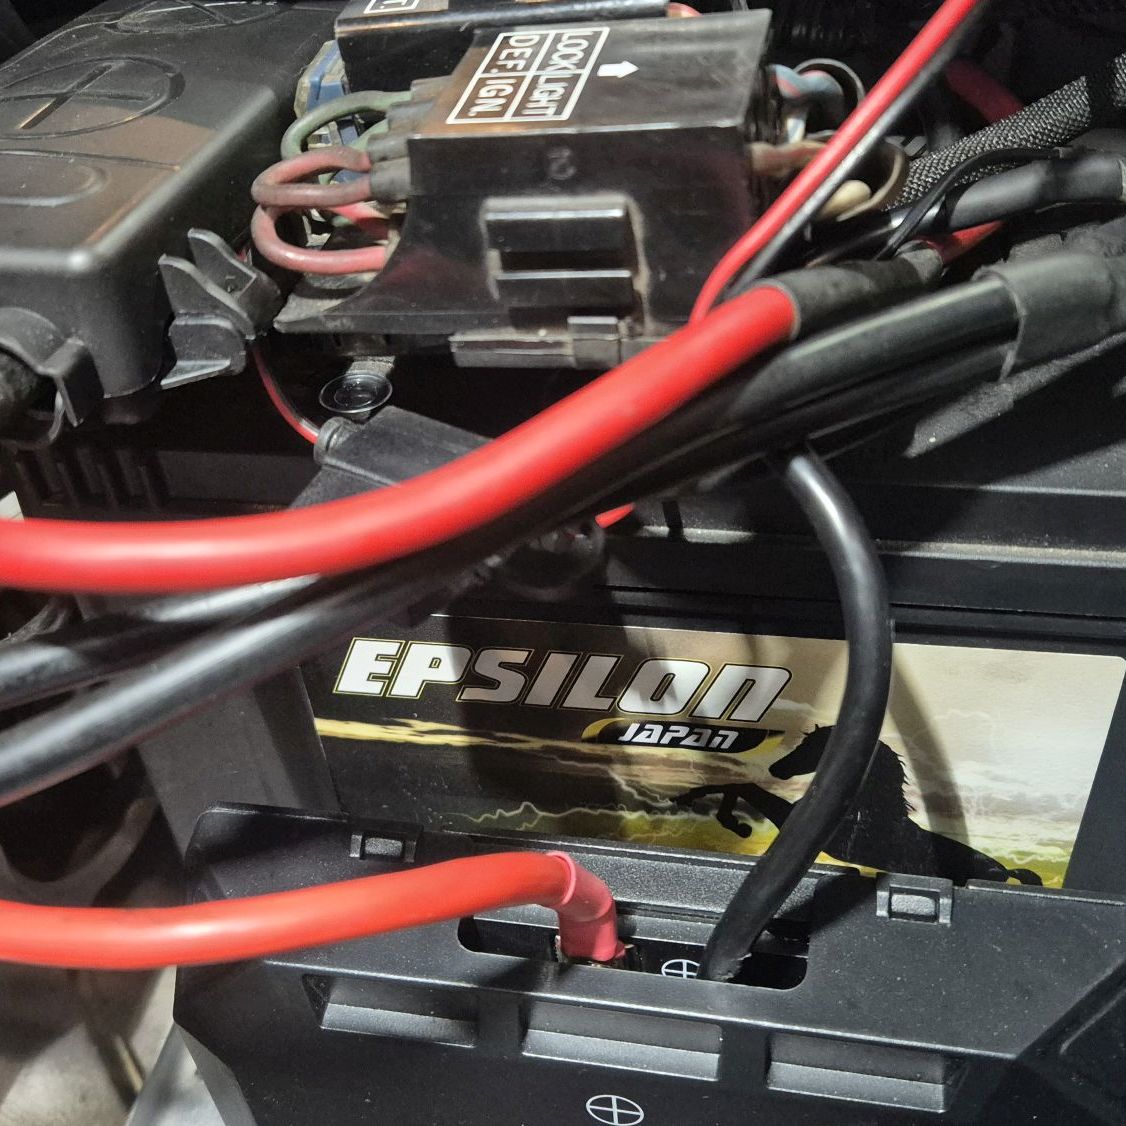
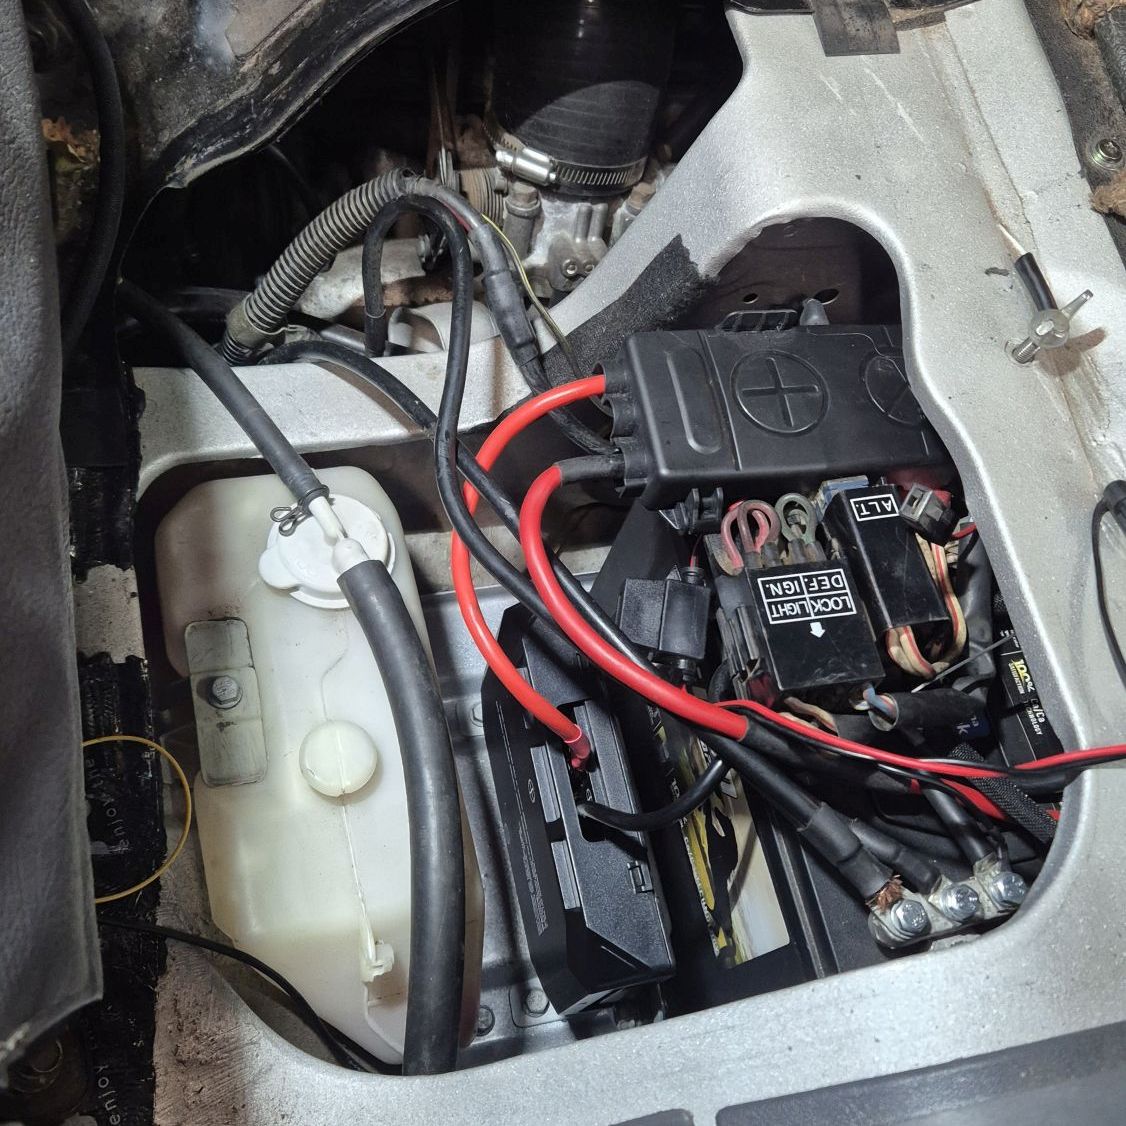
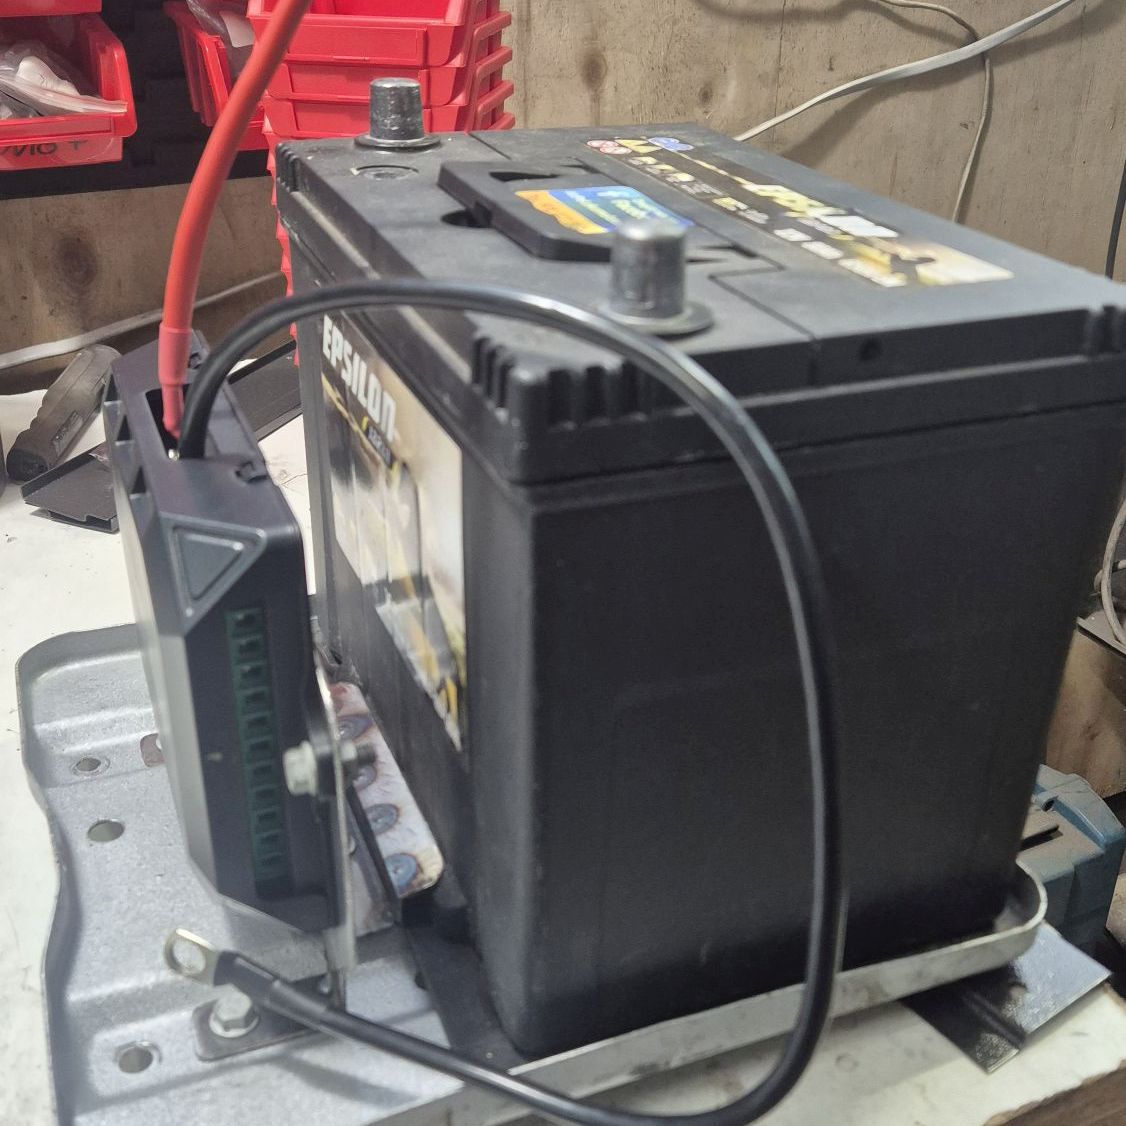
I managed to fit an 80Ah battery in the factory location and still make room for a relay module and an additional fuse/distribution box mounted directly on the battery terminal.
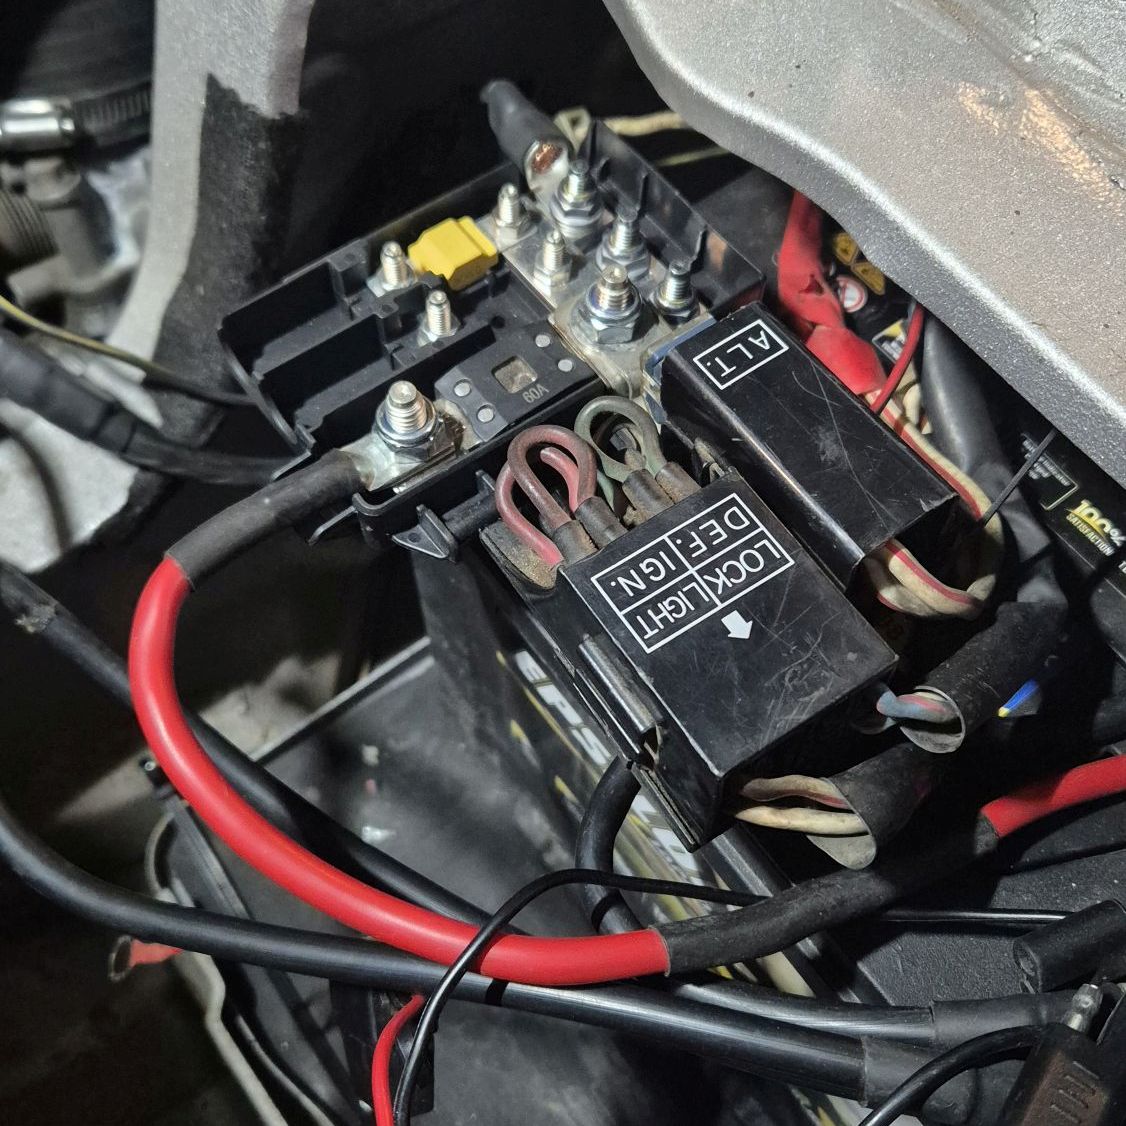
The main goals were simple:
- fit a bigger battery in the stock location,
- keep the original fusible links,
- add extra fused power outputs,
- make a proper starter connection,
- and keep the whole thing simple to build.
Final result:
- 80Ah battery fits in the factory place,
- original fusible links stay untouched,
- 3 additional fused power outputs,
- starter connected directly to the battery terminal,
- if you keep the stock battery mounting style, the whole job is actually pretty quick and easy.
If you want to copy this setup, the full parts list is included near the end of the article.
Battery tray modification
There are many ways to mount a battery in an L300.
You can keep the factory-style mounting with two threaded rods over the top of the battery. Or use a strap or other custom solution.
I decided to modify the tray and mount the battery by its base, like in modern cars. There were three reasons for that:
- more free space above the battery for the fuse box,
- ability to move the battery as far back as possible to free space for the relay module,
- and I already planned to make a mounting plate for the relays anyway.
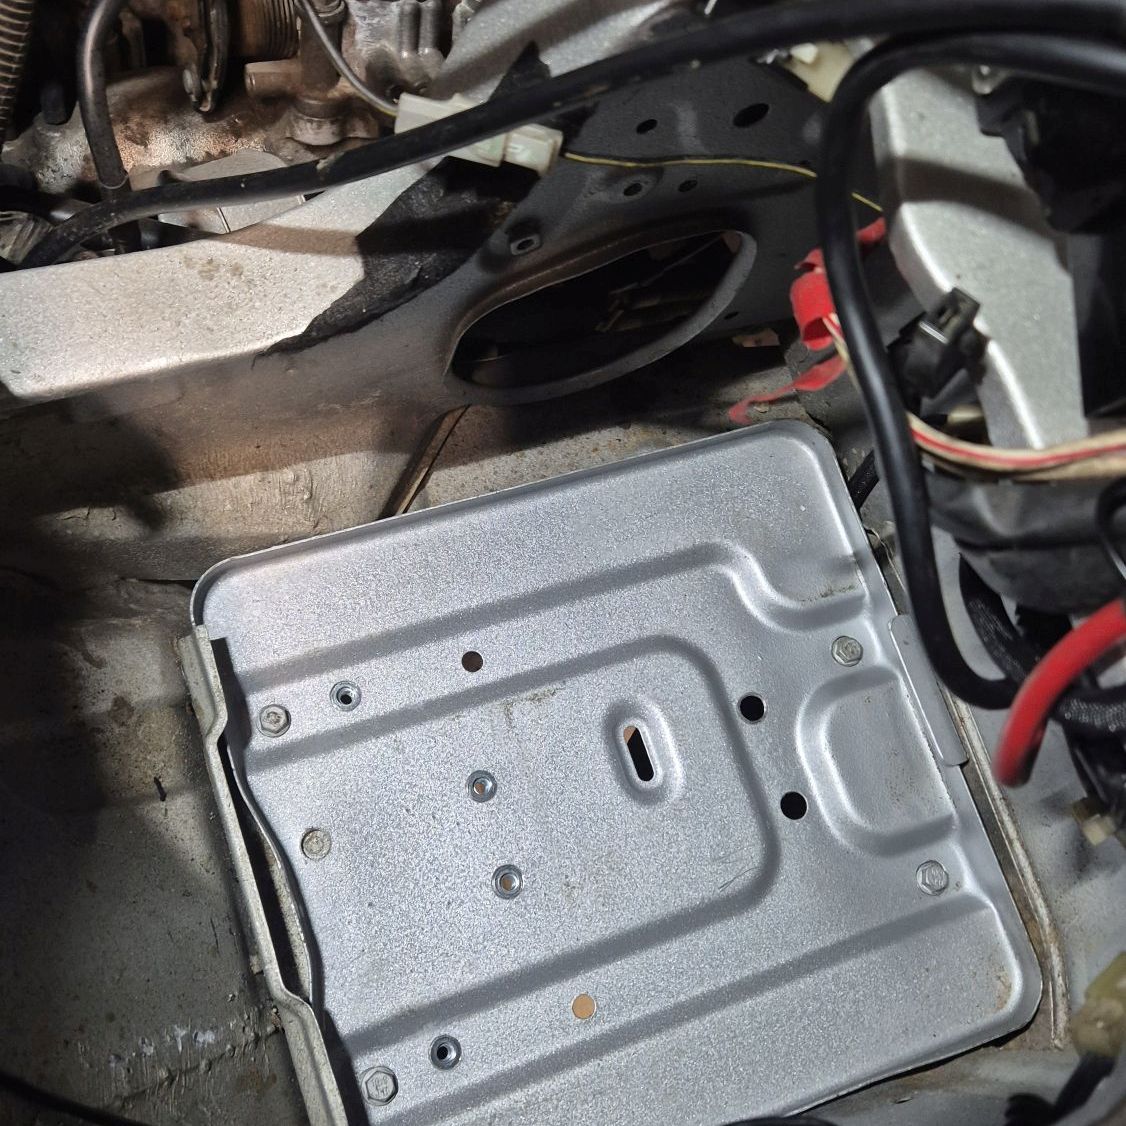
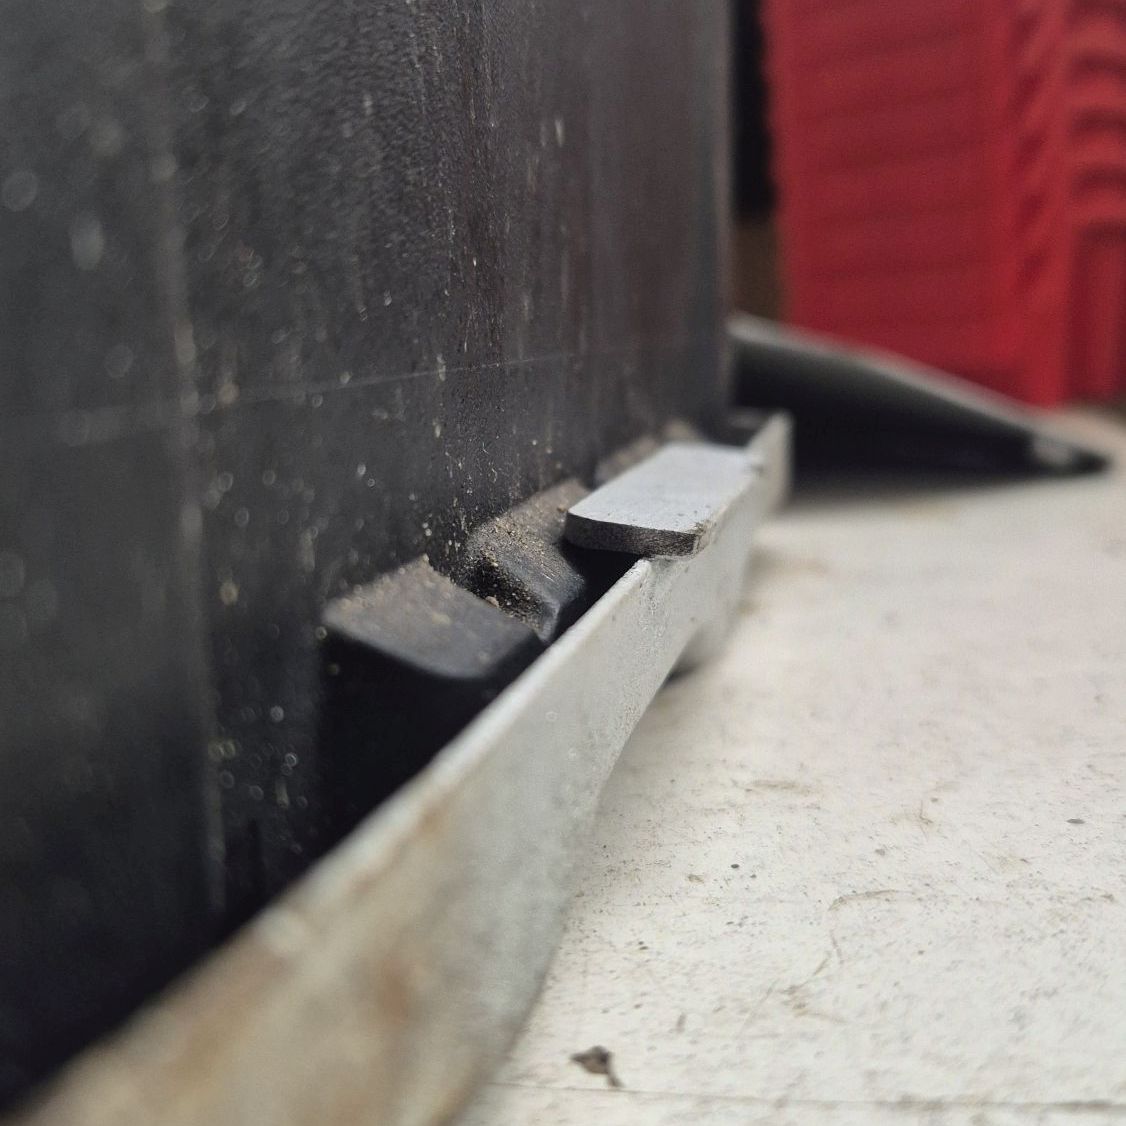
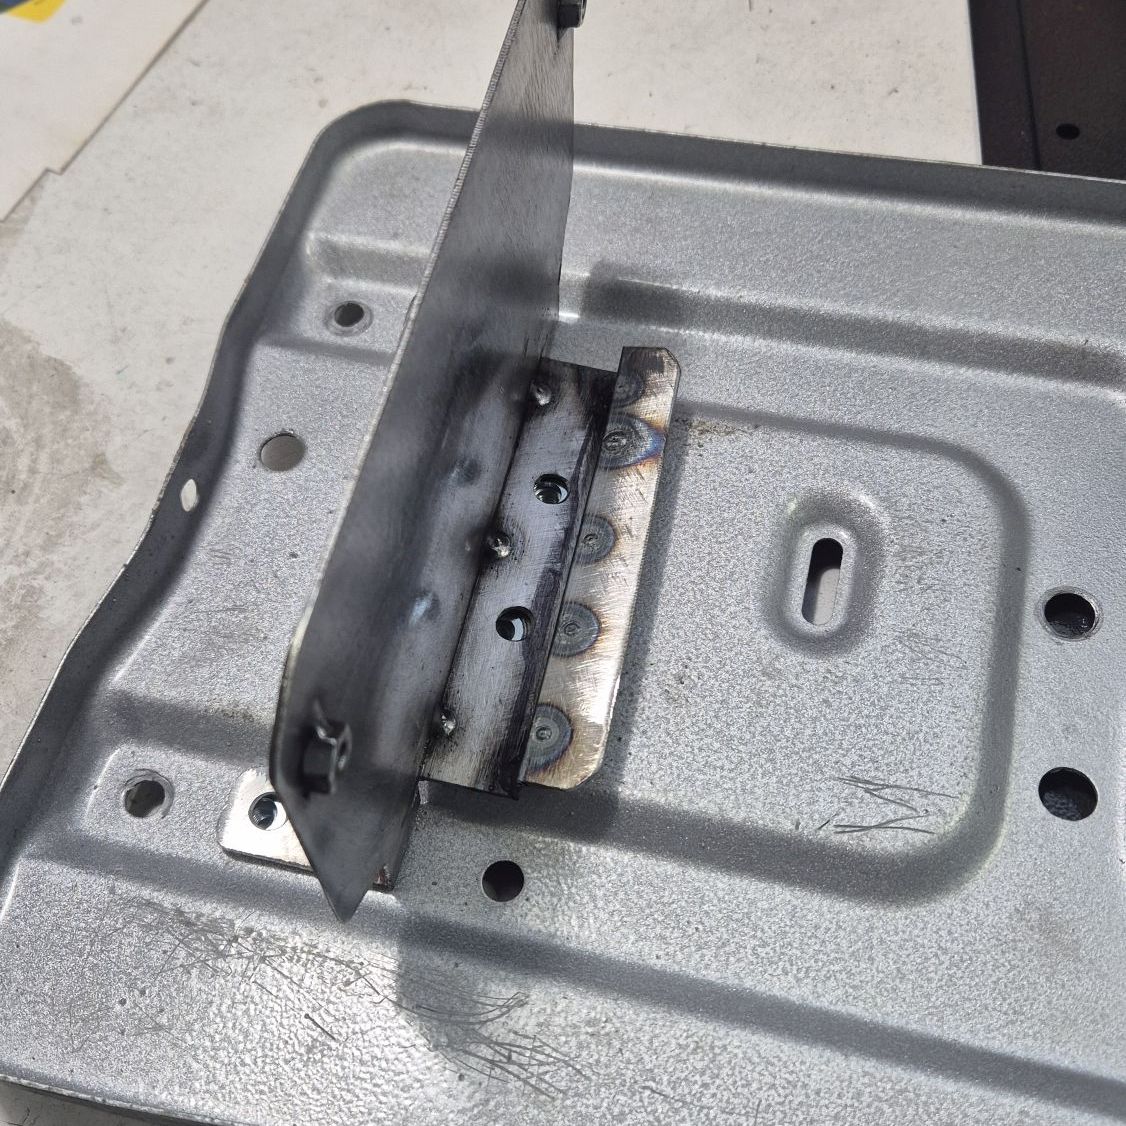
To hold the battery at the rear side, I welded a small piece onto the tray that locks the battery foot in place.
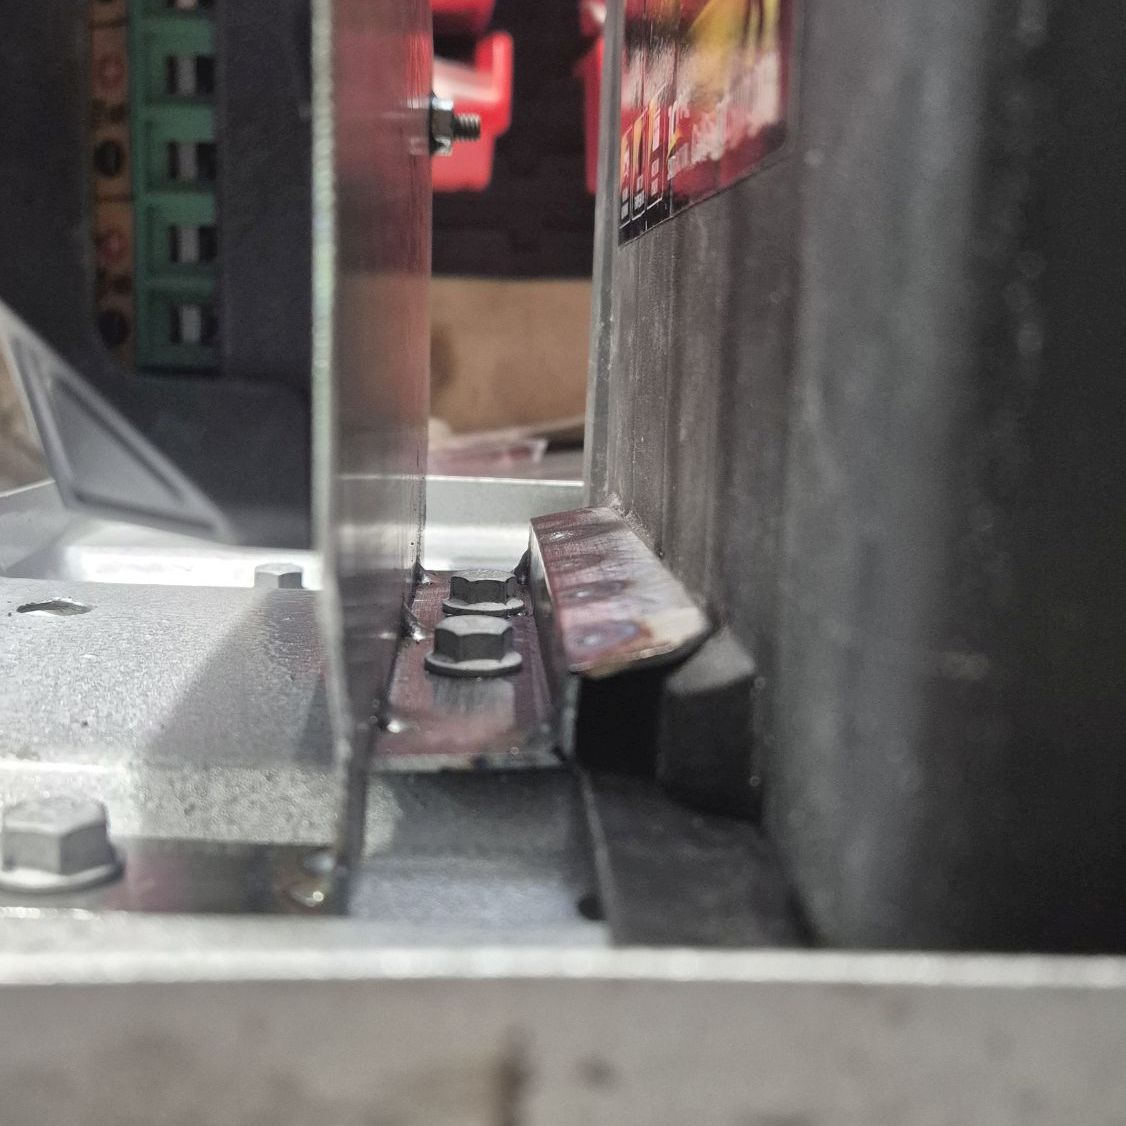
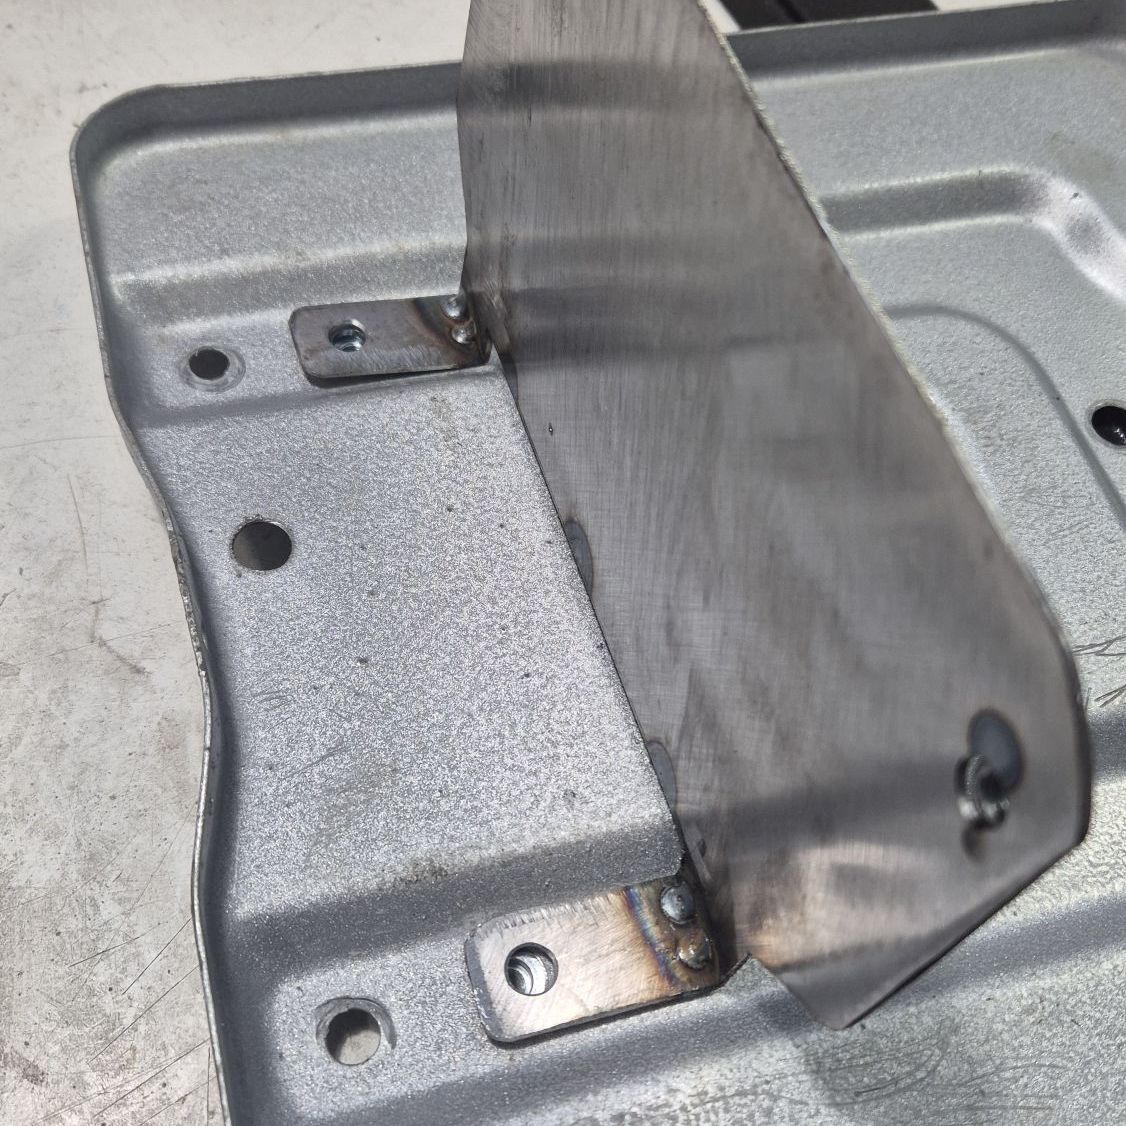
The front mount was made from 3mm steel plate.
At the same time it also works as the mounting plate for the relay module, so one part does two jobs.
If you are interested in the relay module used in this setup, check out the separate article where I describe it in more detail.
I installed four M6 rivet nuts into the battery tray to bolt everything down.
Once assembled, the battery sits very solid and stable.
Electrical connections
This is not completely plug & play.
To make the MTA box fit properly, three small modifications are needed. Luckily all of them are simple.
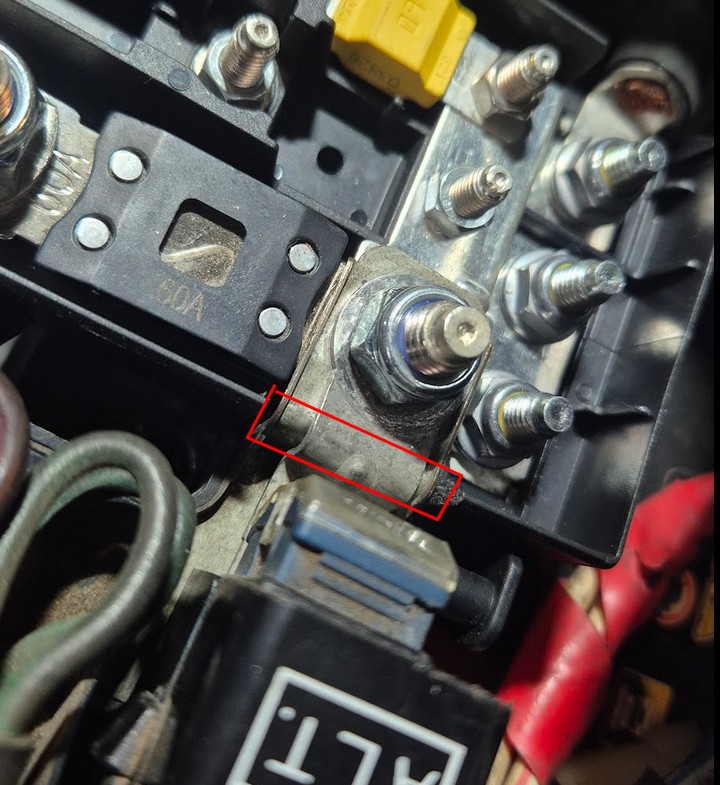
1. Cutting the MTA box housing
To keep the factory fusible links, a small section of the MTA box housing needs to be trimmed.
Without this cut there is simply no proper space to connect them.
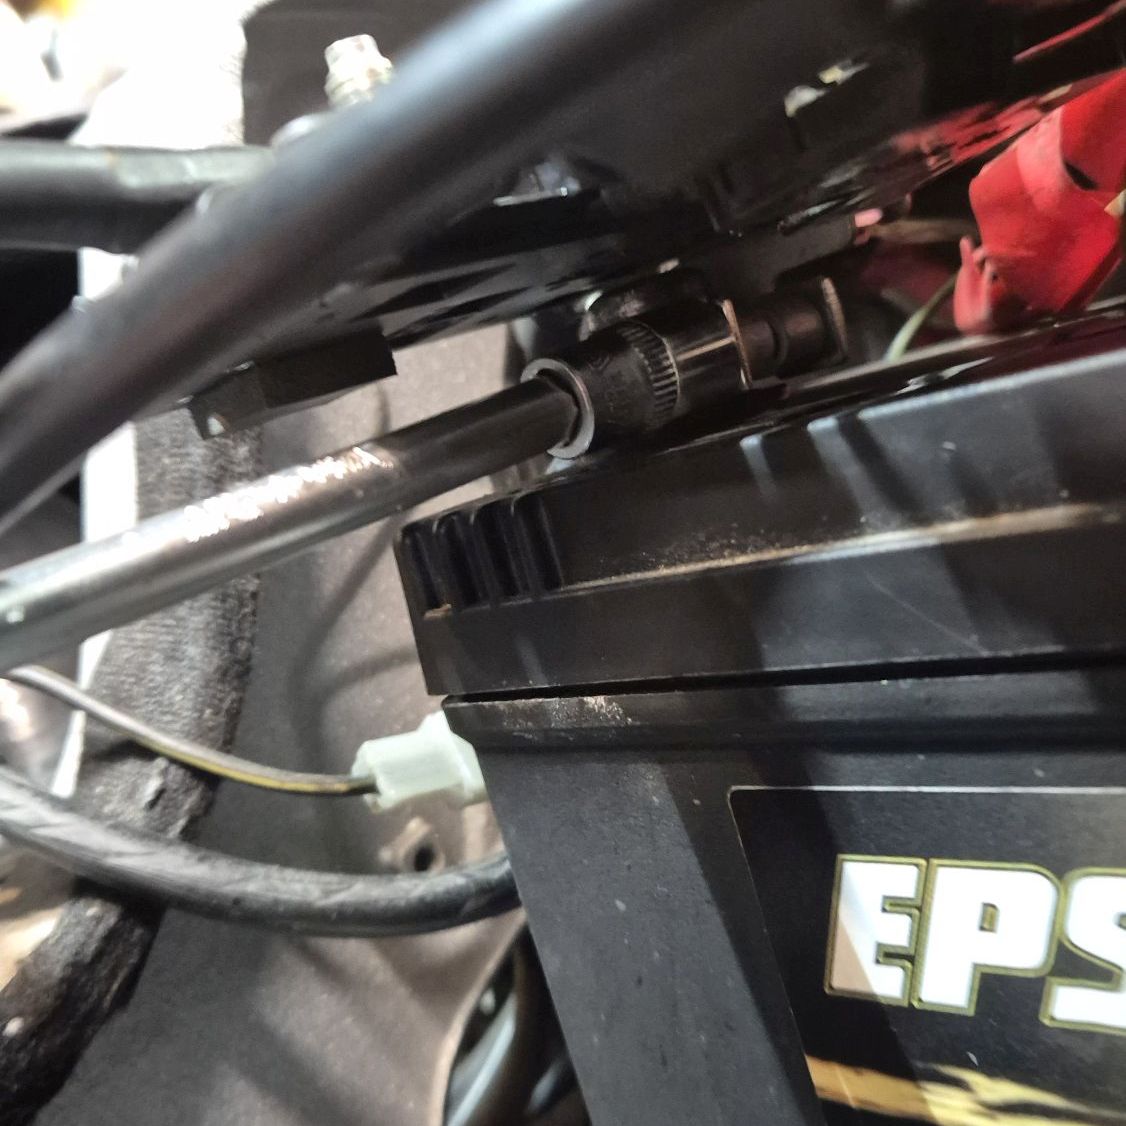
2. Rotating the terminal clamp
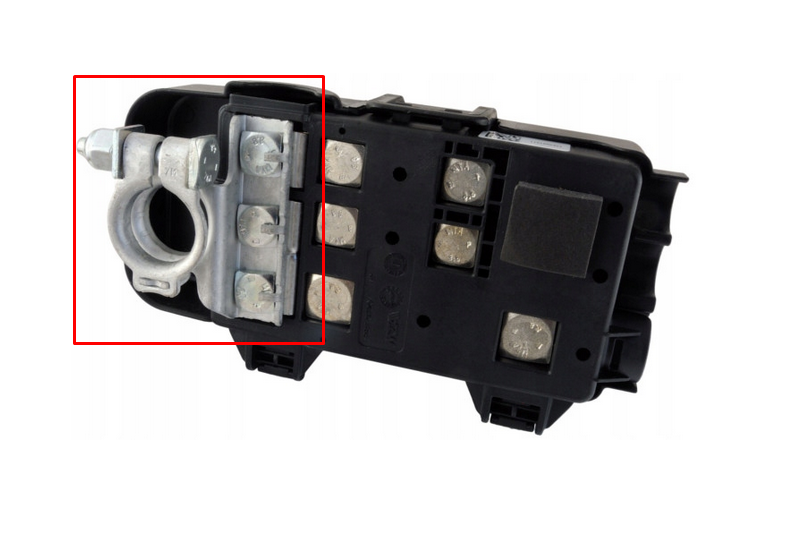
The MTA box comes with the battery clamp mounted using three M6 bolts.
In the factory position, space is very tight and access to the terminal bolt on the battery post is not great.
The solution is simple — rotate the clamp 180°.
This gives more room and makes installation easier while still keeping good access to the mounting bolt.
The whole process takes only a few minutes:
- remove three bolts,
- rotate the clamp,
- bolt it back together.
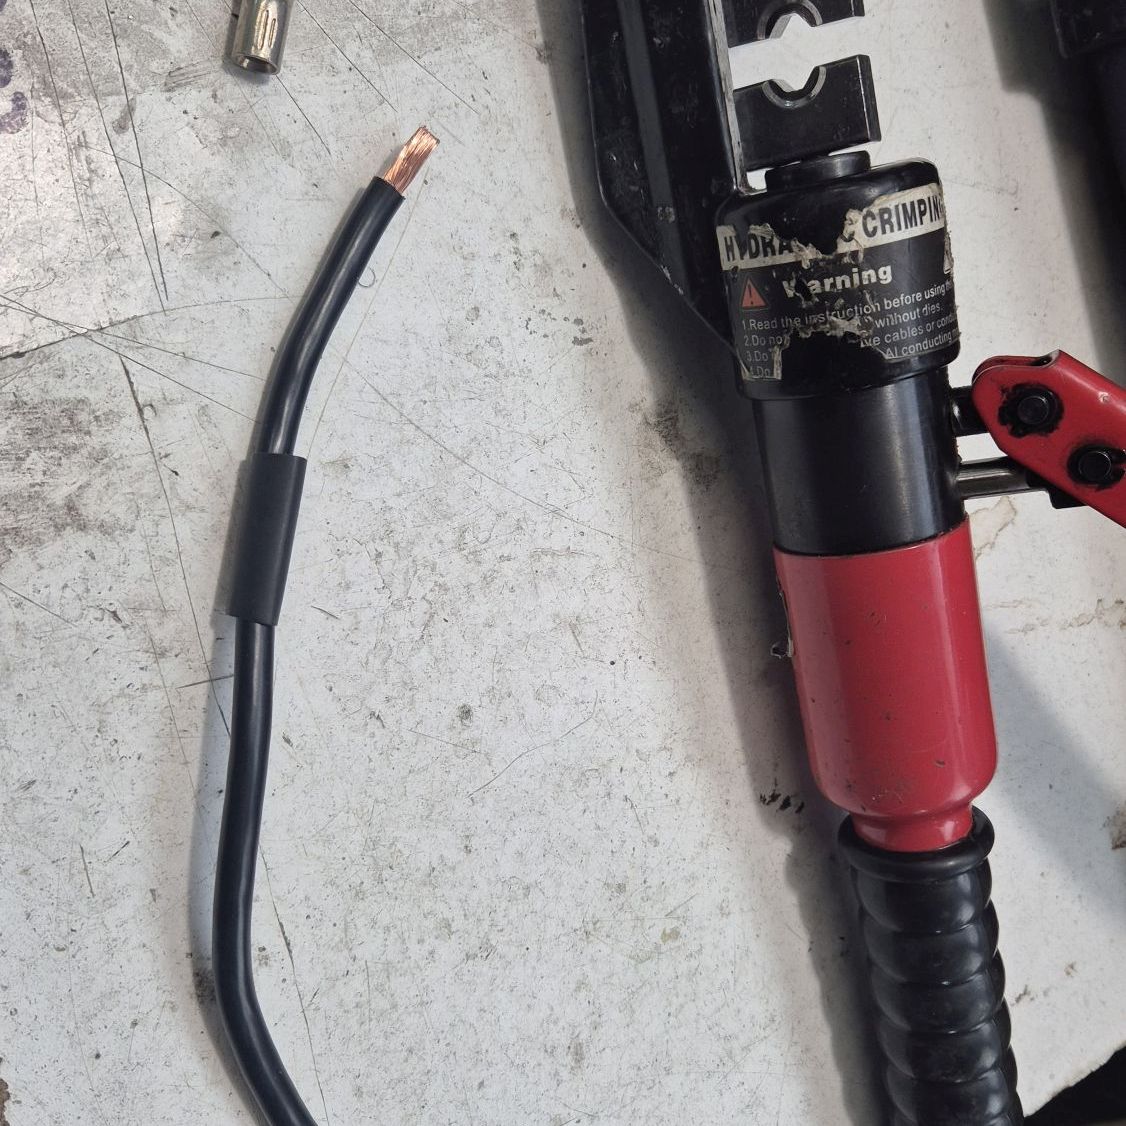
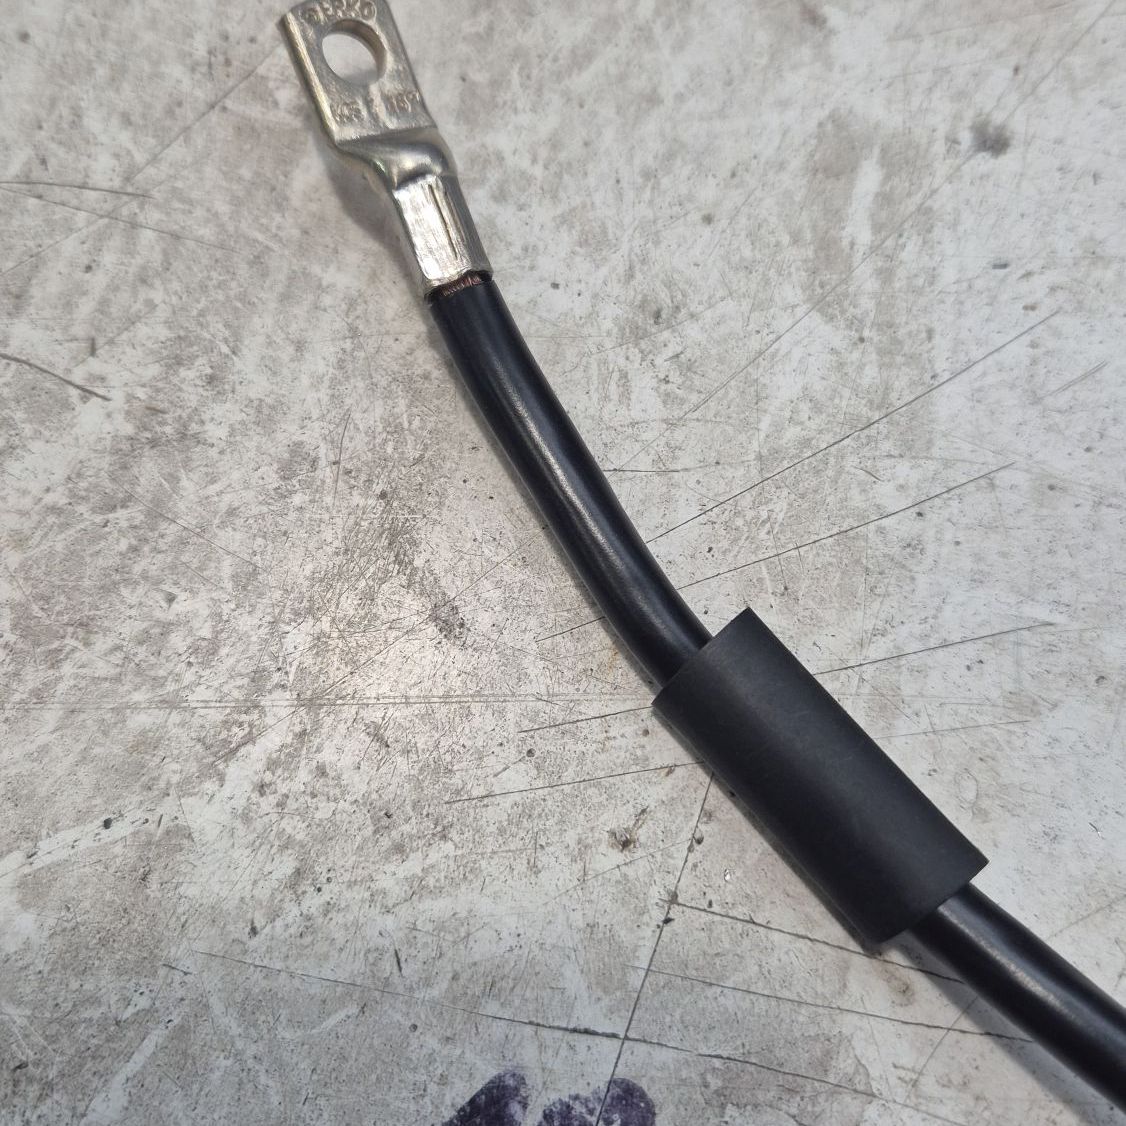
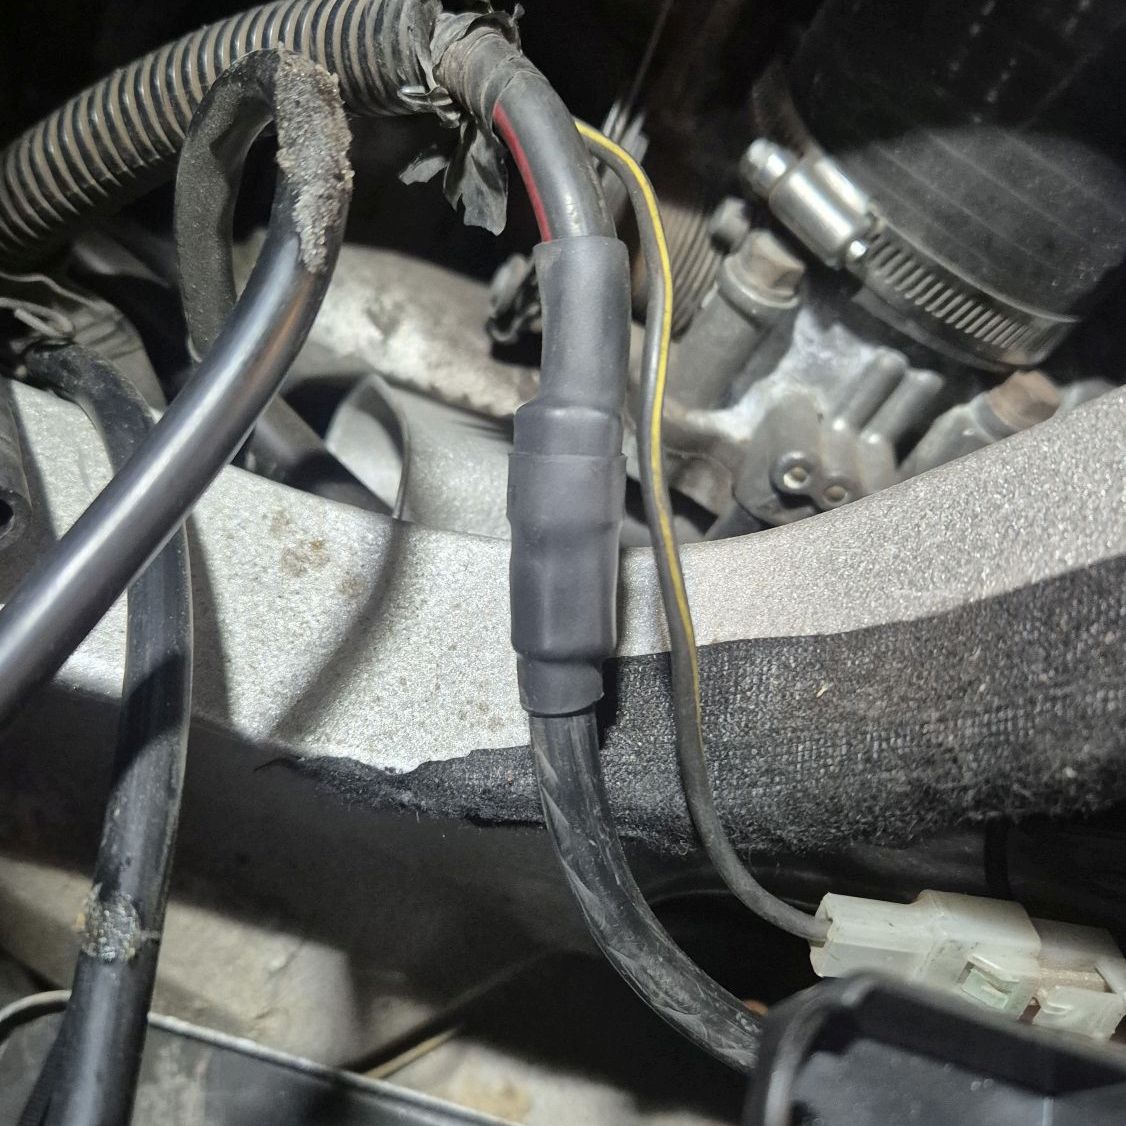
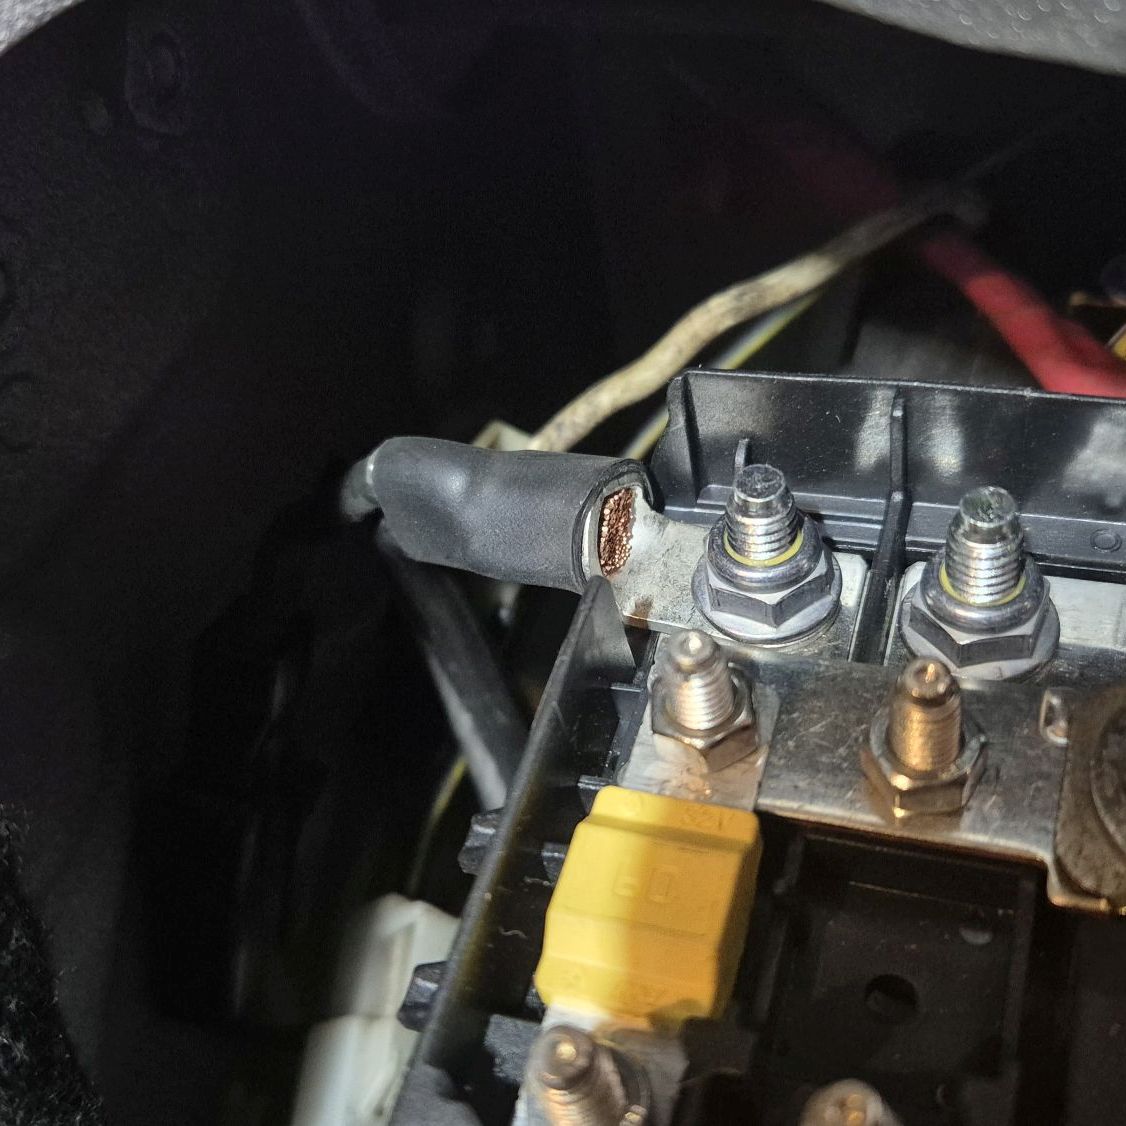
3. Extending the starter cable
Because the battery is moved further back compared to the factory position, the original starter cable becomes too short.
You can make a completely new cable, but mine was still in very good condition, so I decided to extend it.
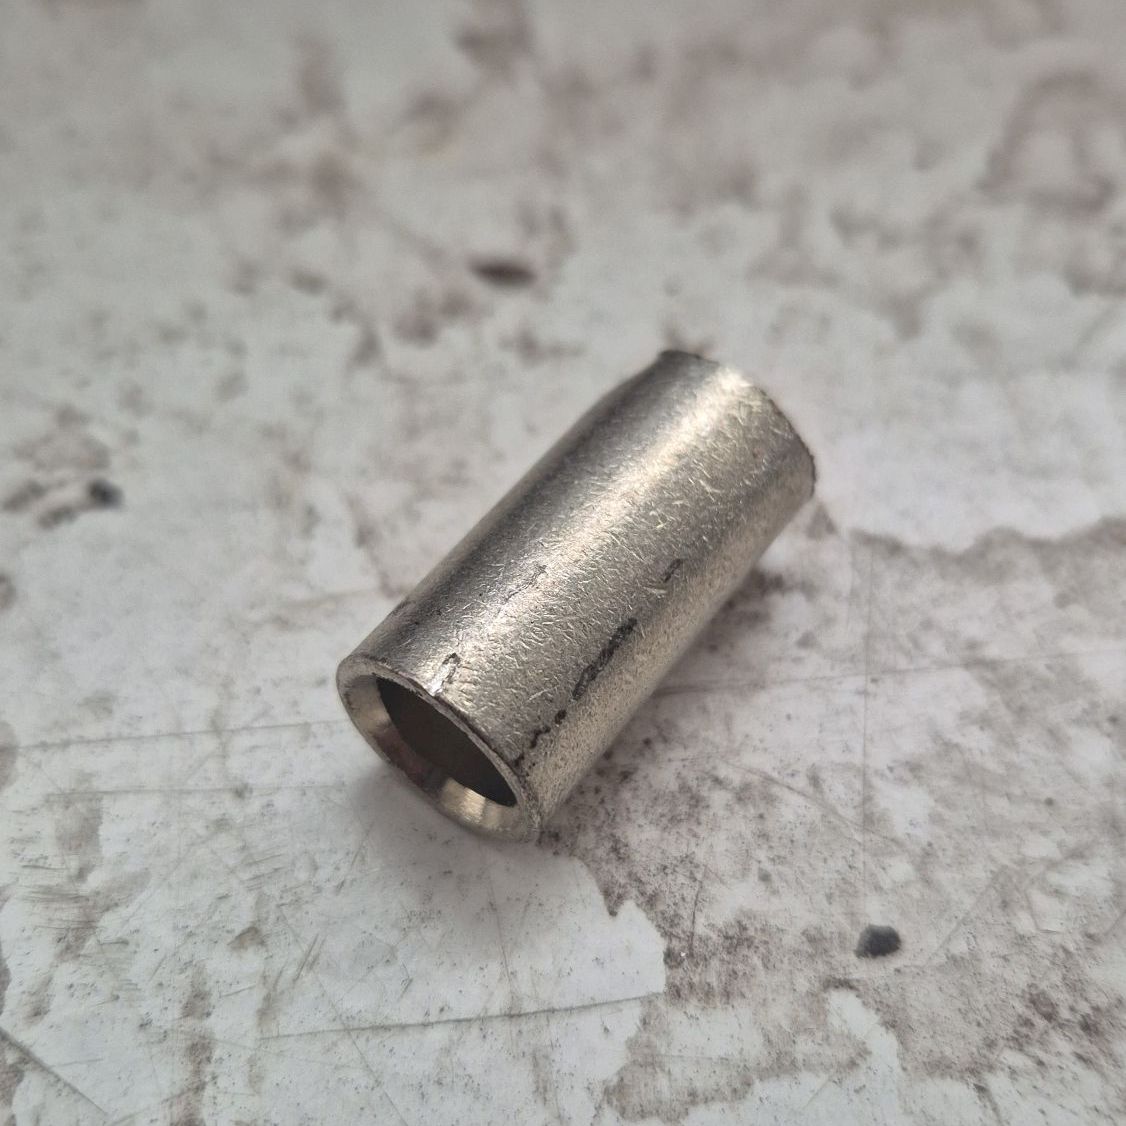
For this I used:
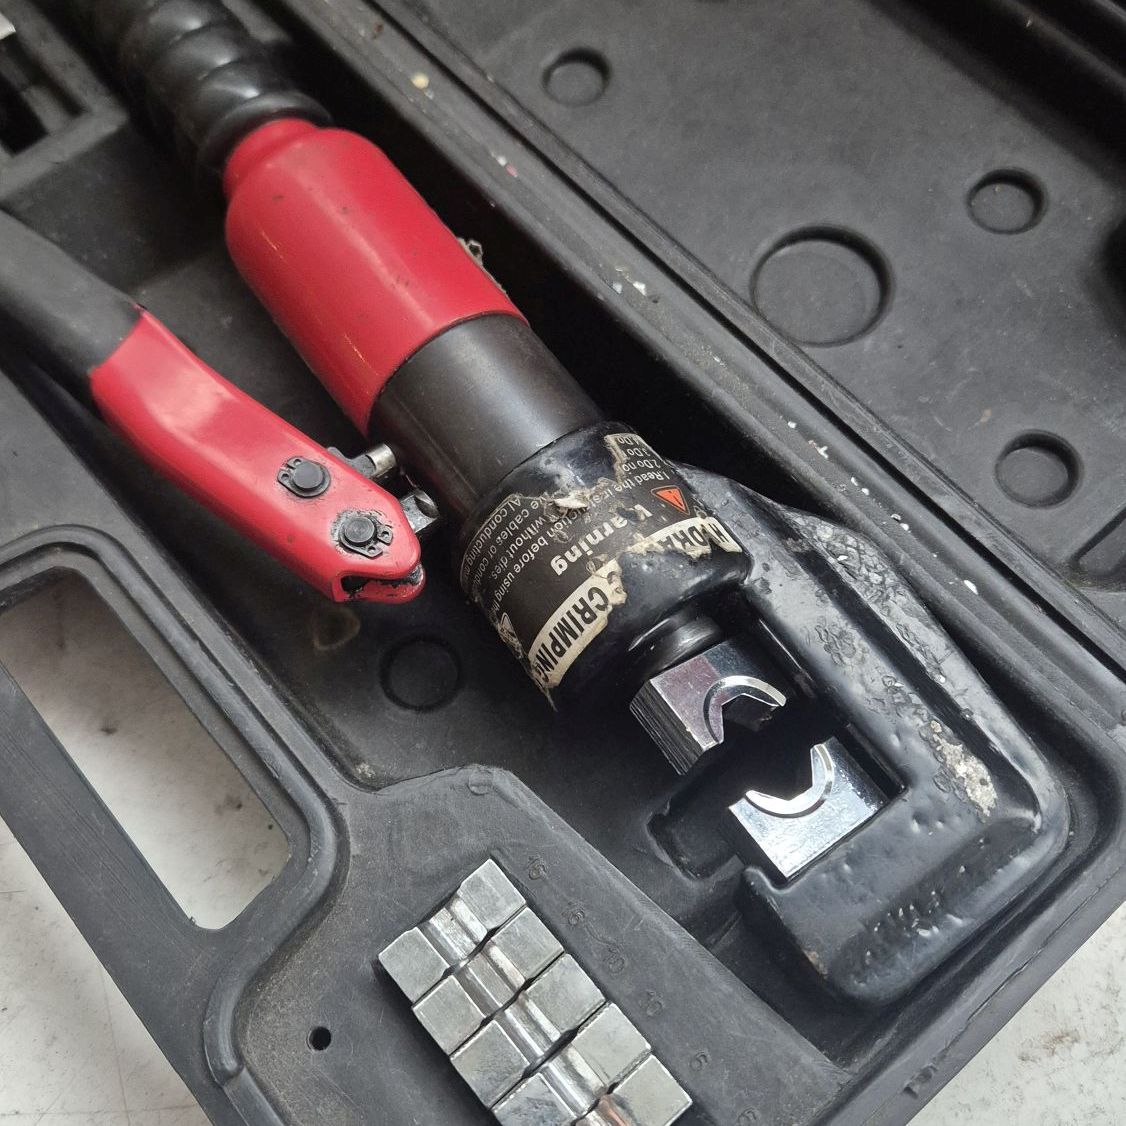
- a hydraulic crimp sleeve,
- an M6 cable lug for 25mm² cable,
- quality adhesive heat shrink tubing.
To join two 25mm² cables together, I used a 50mm² crimp sleeve.
After hydraulic crimping, the connection becomes very solid and reliable.
Then everything was sealed with adhesive heat shrink tubing.
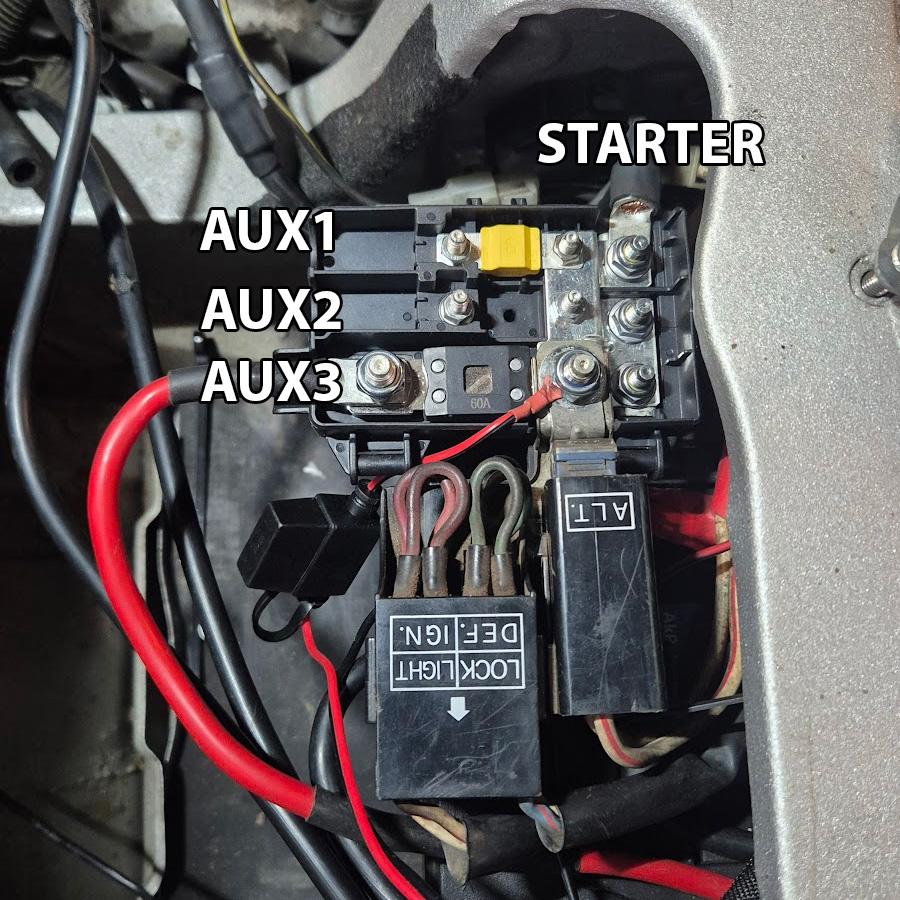
Current connections
Through the MTA box:
- AUX1 — relay module, 60A fuse,
- AUX2 — currently empty,
- AUX3 — car audio amplifier.
The amplifier will probably move to AUX2 later to free up space for a bigger cable for a future winch power supply.
I also connected a battery maintainer charger for longer parking periods.
Parts used
- 80D26L battery — Yuasa Epsilon 80Ah 650A (left positive)
- MTA CDB 0300839 fuse/distribution box
- Triple ground terminal
- Some 25mm² cable
- Cable lugs, crimp sleeves, heat shrink tubing and all the usual electrical supplies
Summary
This setup turned out to be a very practical upgrade for the L300.
The bigger battery gives more reserve power, the additional fused outputs make future accessories much easier to connect, and keeping the factory fusible links means the whole system still looks clean and close to OEM.
The battery tray modification takes some extra work, but it makes the whole layout much cleaner and creates enough space for both the relay module and the MTA distribution box.
For anyone planning additional electrical accessories in the future — lights, compressor, audio system, inverter or winch — this kind of setup makes the electrical system much easier to organize from the start.
And most importantly, everything still fits in the original battery location without turning the engine bay into a custom fabrication project.